![SDL - 2025 New Logo.png]](https://help.getsdl.com/hs-fs/hubfs/SDL%20-%202025%20New%20Logo.png?height=40&name=SDL%20-%202025%20New%20Logo.png)
1. In this training we will review how to make complaint submissions accessible to your private citizens.
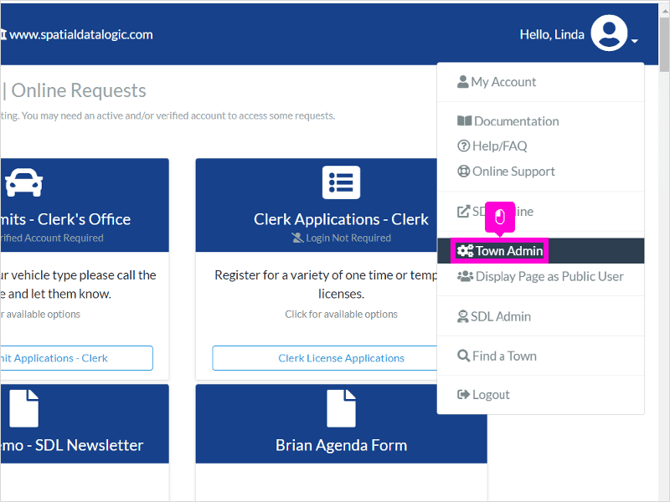
2. To begin customizing the complaint requests you must have town admin access. From the My Account tab on the top right, choose town admin. If you do not see the option please contact your SDL or town administrator to request town admin access.
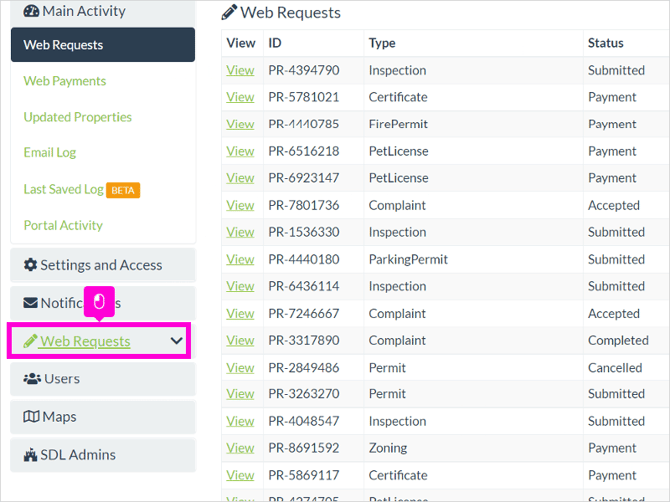
3. From town admin we will navigate to Web Requests. Click on the pencil icon to configure and edit your web requests.
4. The complaint section is found under the Multiple department section. All complaint templates are managed here.
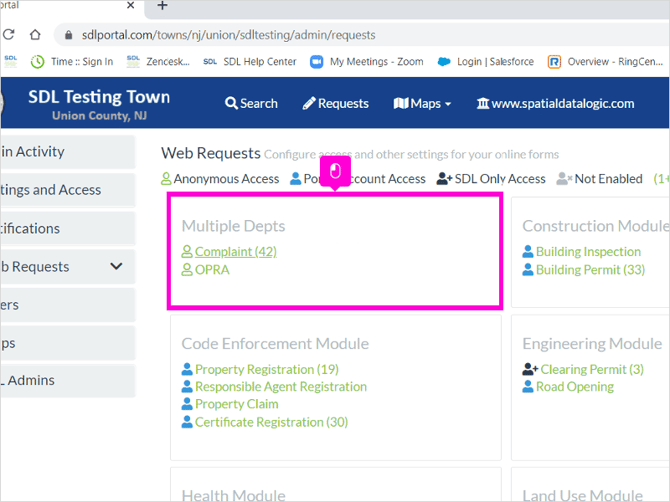
5. This number represents complaint templates from all town departments. Your total number may be higher or lower.
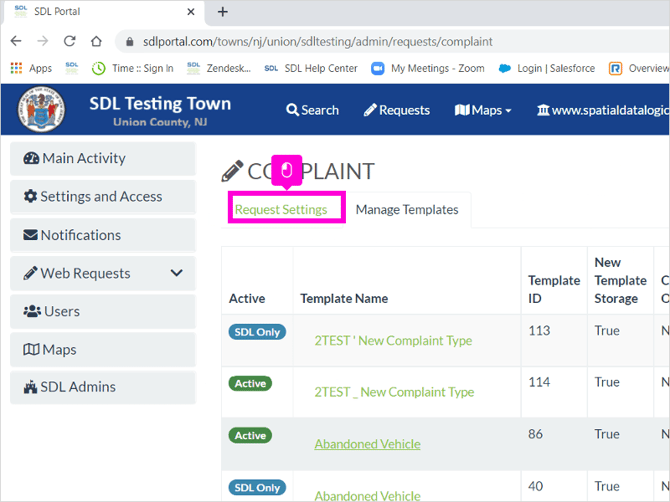
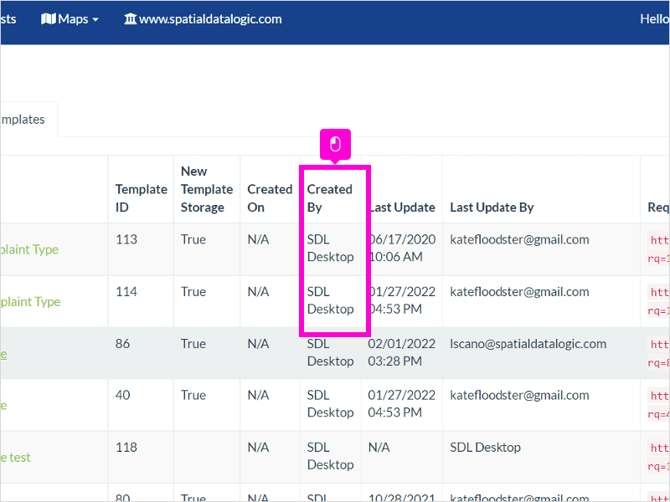
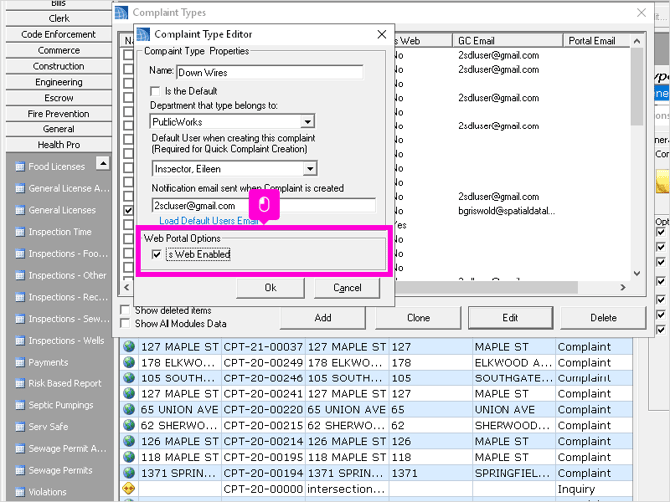
6. Note, the Complaint templates are created on the SDL desktop and will sync to the portal when the web request option is checked. If you need assistance with Desktop Complaint setup, please contact our support team. Complaint Types can be setup from the specific module you want them to show up in under Tools->Options and by going into the Workflow tab. There is a drop down where you will see "Complaint Types" - click Edit to add a Complaint Type to this list and it will sync to the Portal.
7. When configuring the complaints, There are two sections, Requests Settings and Manage Templates.
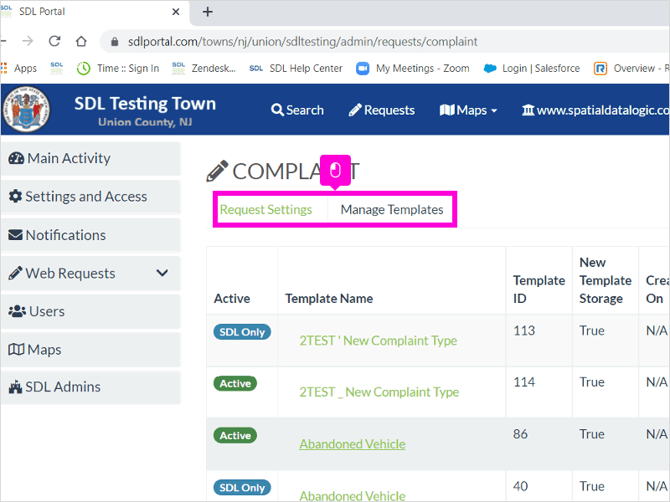
8. The Request Settings are general settings which will affect complaint templates for ALL town departments, if you need changes to general request settings, please contact your SDL Administrator.
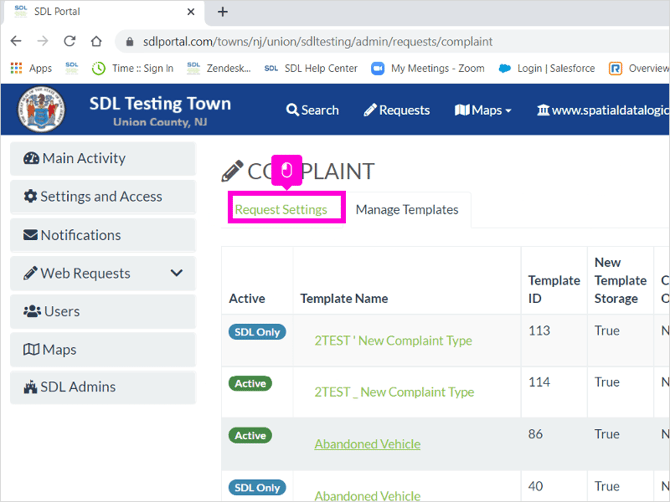
9. The focus of this training is managing individual complaint templates and preparing them for use by the public. Click on Manage Templates to access the individual complaint templates also called complaint types.
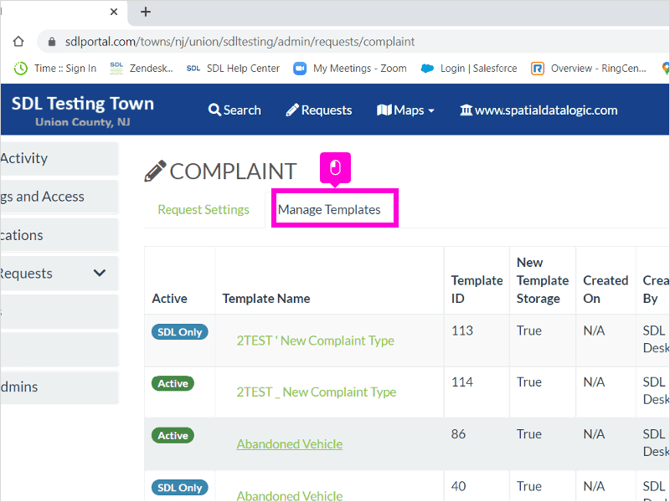
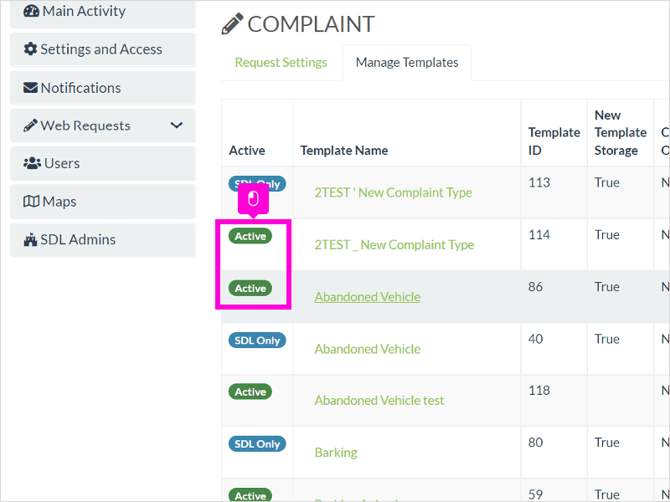
10. You are directed to a list of complaint templates. When a complaint is available for public use you will see the Active Icon.
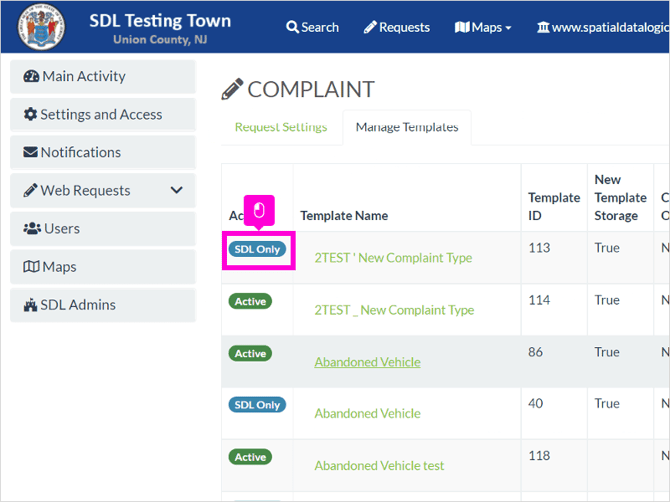
11. Complaints with the status of SDL Only, are in the process of being configured and can be viewed only by users with an SDL log in.
12. The Inactive status means the template is turned off and you will not be able to preview it and the public cannot access it. You can use this setting for complaint types that are no longer used by your town.
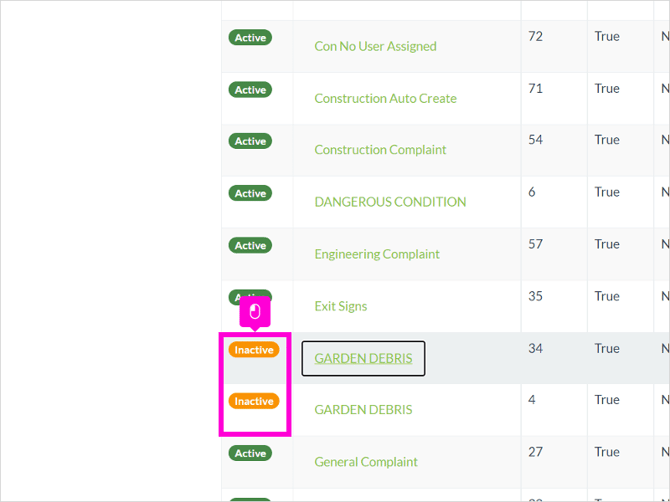
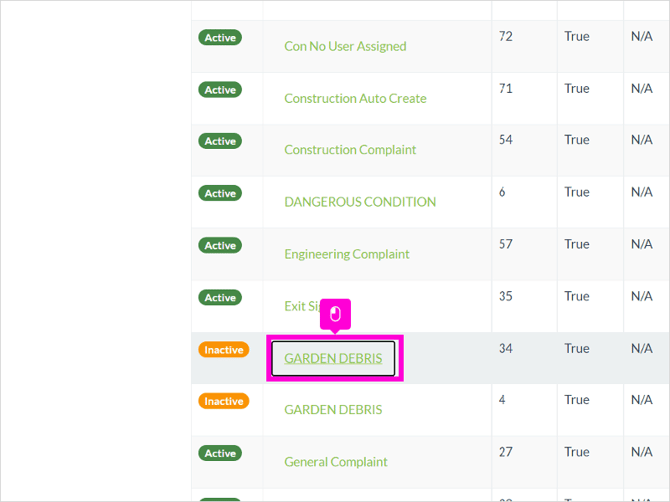
13. To begin editing the complaint request, click on the template name.
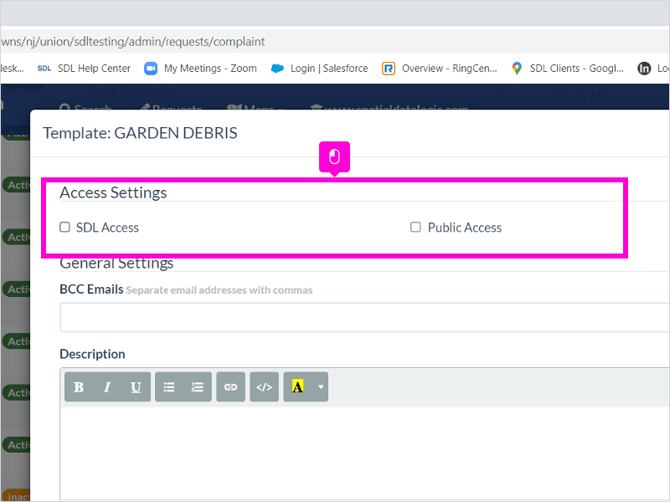
14. The Access Settings will turn the request on for viewing by SDL users and/or the public as mentioned. When both options are left unchecked, the template will be made inactive.
15. The SDL Access checkbox will allow only users with an SDL log in to view the template. This is useful to preview what your applicant will see when submitting the complaint.
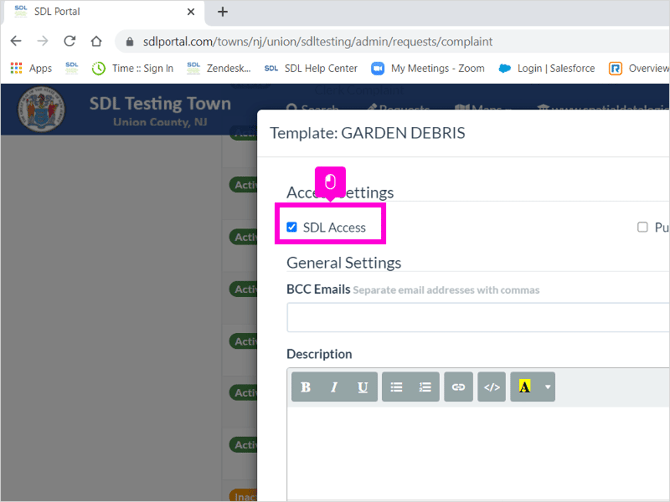
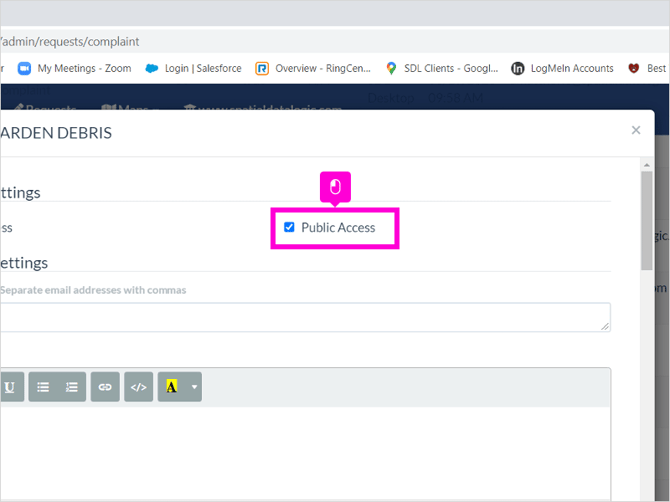
16. Once the template setup is complete, you can turn the request on for public use by checking the Public Access checkbox.
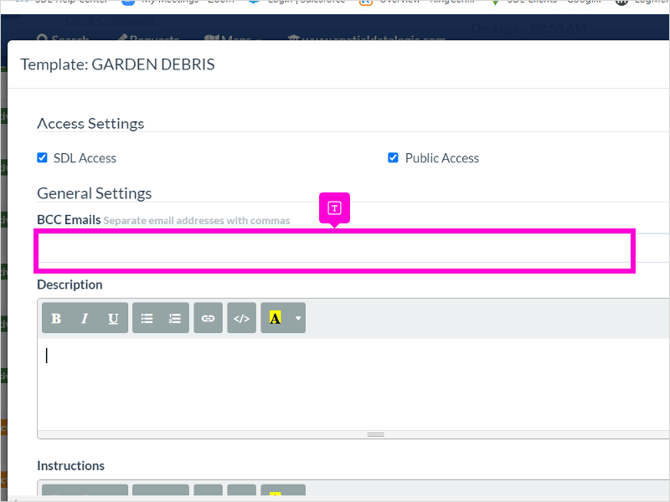
17. If you want a notification each time this request is submitted, add your email address in the BCC emails box. Make sure to separate email addresses with a comma.
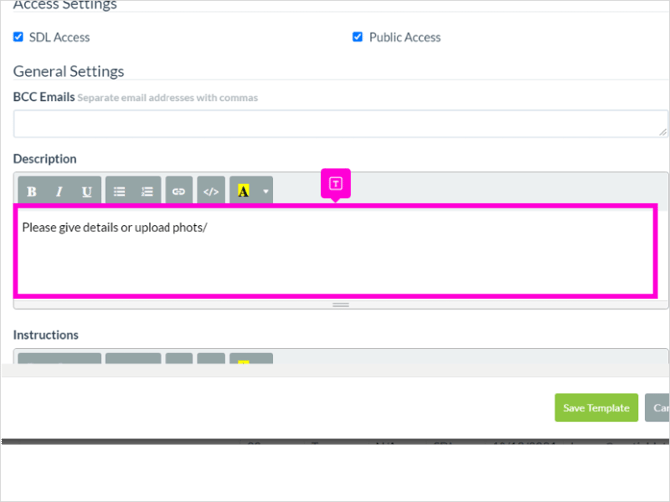
18. You can enter a description which will display at the top of the complaint request page.
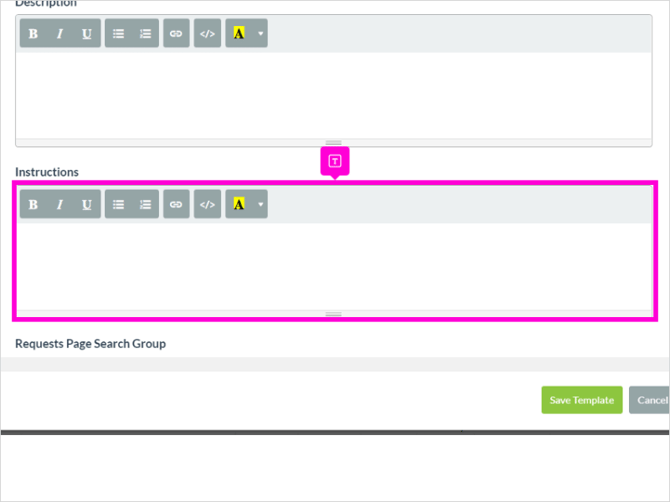
19. Type in any instructions for the complaint request. This will also display at the beginning of the submission process.
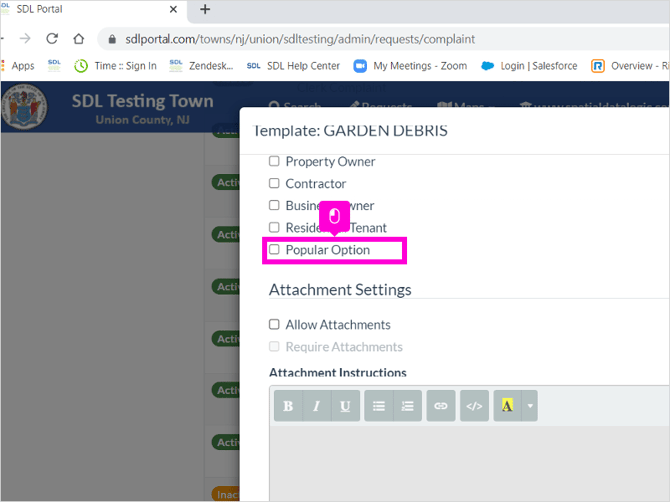
20. Requests Page Search Group pertains to search filters for a future SDL release. The Popular option is available now however. It will allow you to add this complaint type to your portal home page under a section called Popular Online Items.
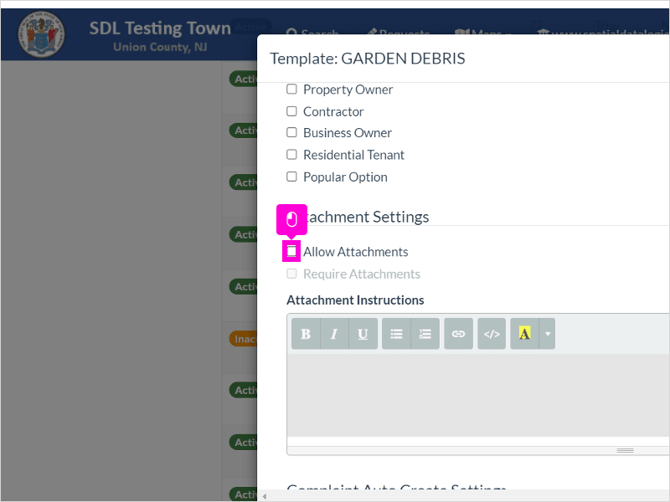
21. Attachment settings will create a general upload box for the citizen to upload any documents they feel are necessary for the submission. If you want to enter specific document requirements there is a different option later in the setup.
22. The Auto Create option is set up on the main request setting page. The town will decide if the citizen request will automatically create a complaint or if it will be processed first. This setting is found on the request settings tab.
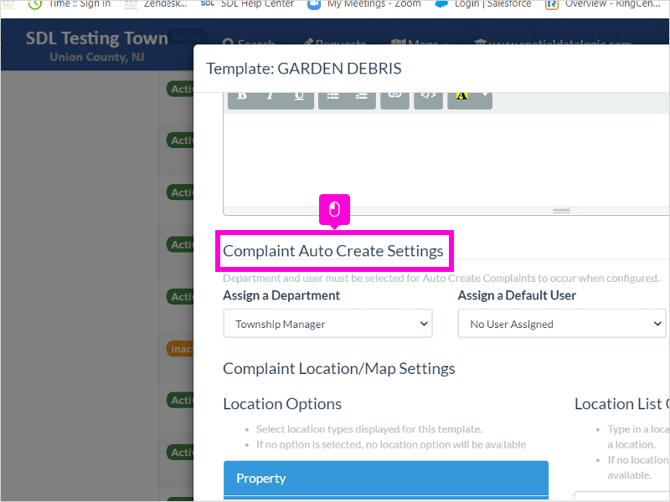
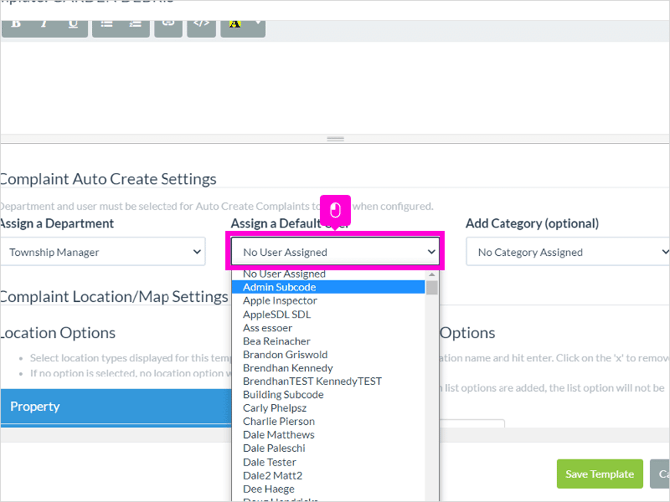
23. If you are choosing to auto create a complaint you can set the assignments here. If the desktop template setting has an assigned department it will auto-populate here. You can change it if desired.
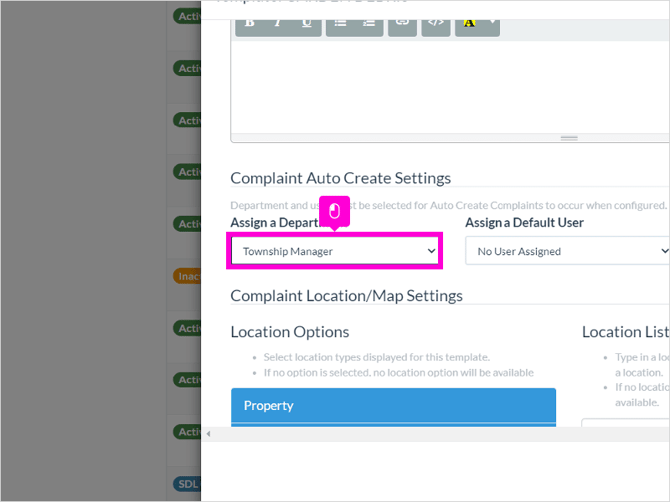
24. The user list is populated by users that have access to the assigned department. You can choose to assign a user or choose No user and assign one during the processing.
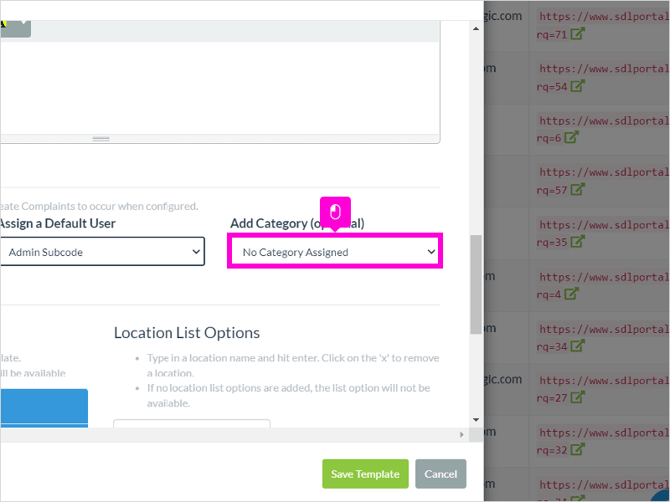
25. You can further classify the complaint by assigning a category.
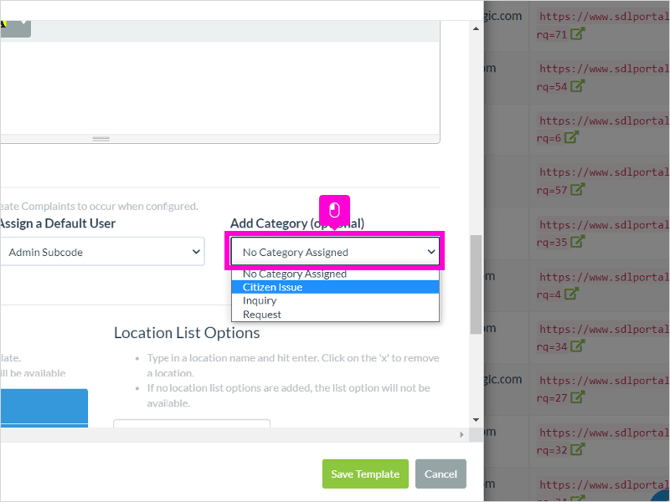
26. Choose a category from the drop down. Please note, this is optional.
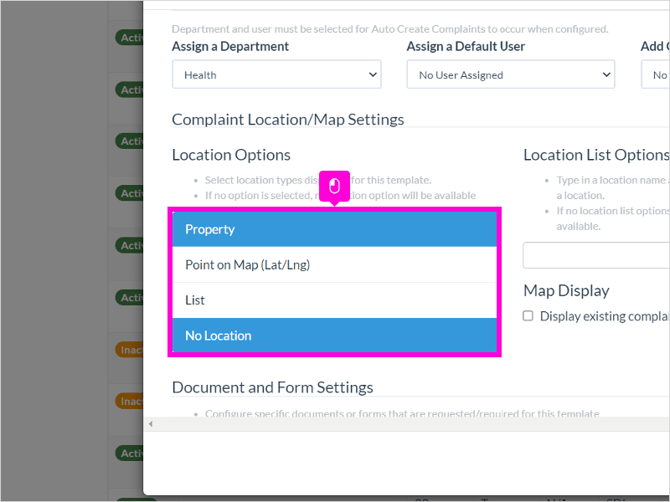
27. Complaint location options will give the complainant different ways to search for the property to link it to the complaint.
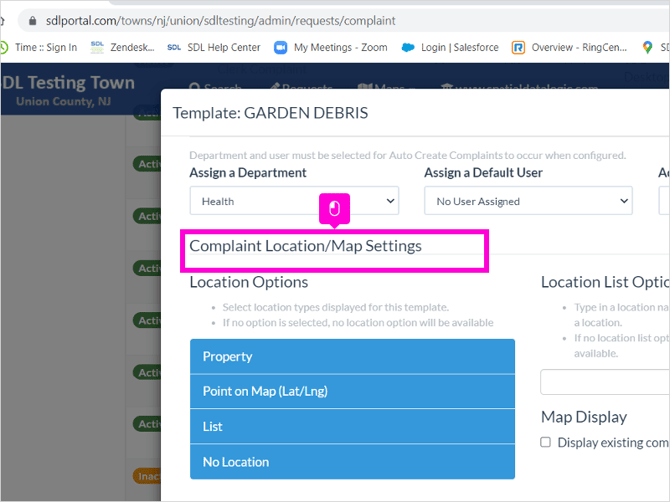
28. Highlight the location search options you want available on the portal request page. You can choose all or any of the options, or you can also choose not to require a location.
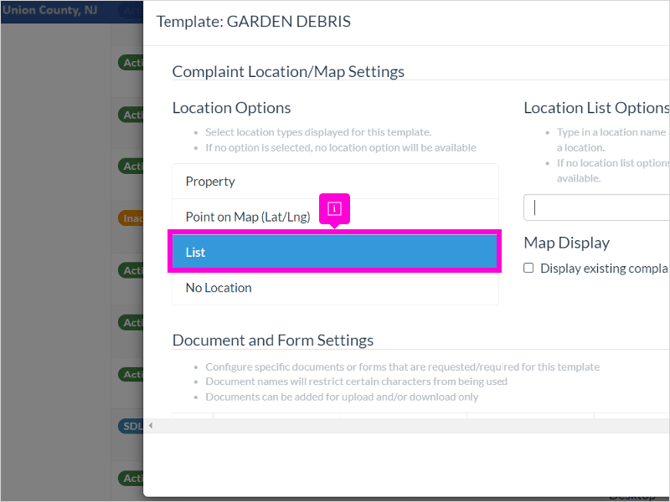
29. The location list option can be used to provide a list of locations for complainants to choose from.
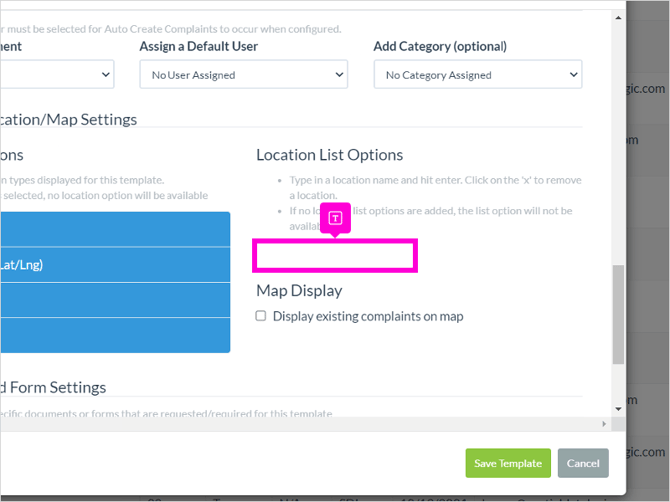
30. You must add the property under the Location List options. If no locations are added the list option will not display.
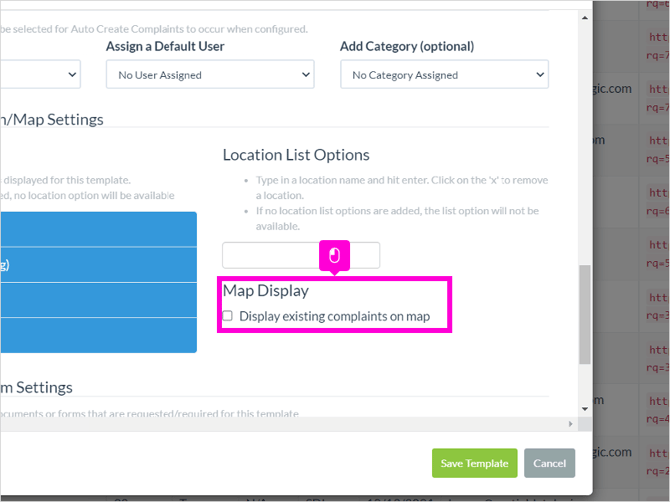
31. You have the option to display existing complaints on the town map. Check the box if you want them displayed.
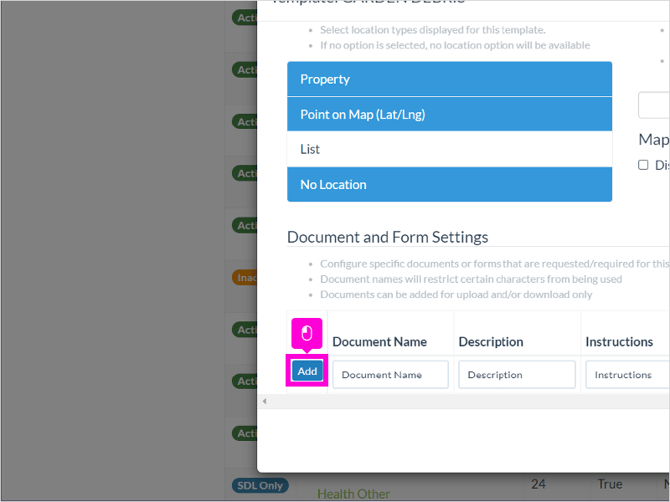
32. This section allows the town to request and/or require documents to assist in the complaint processing.
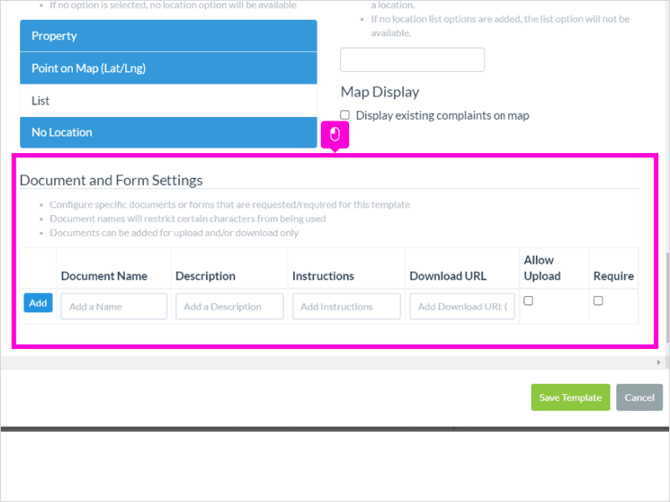
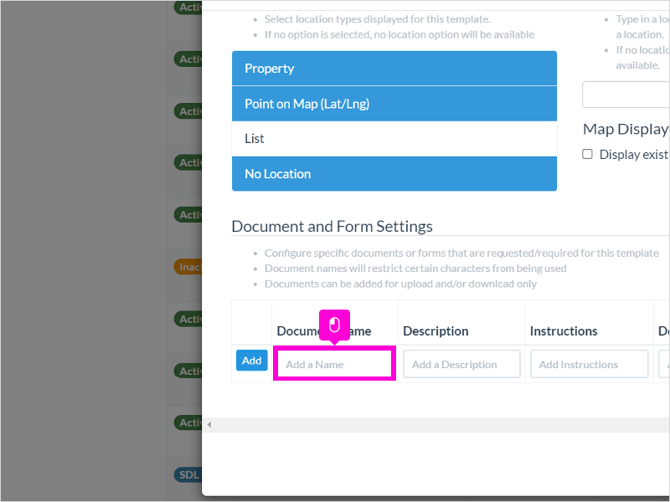
33. To add a document upload, Type in the name of the document.
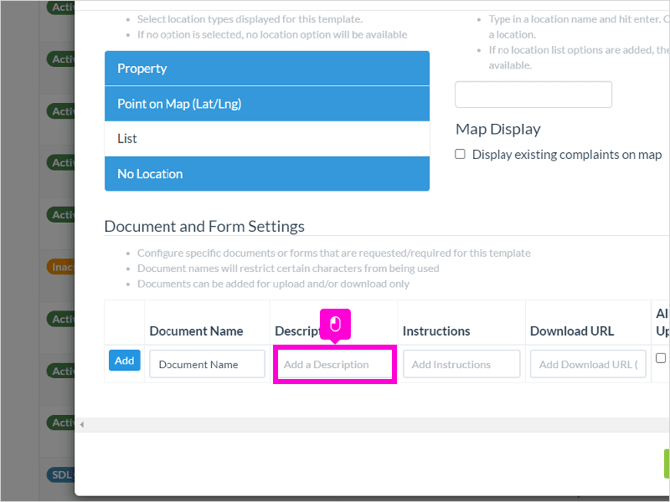
34. If desired, enter a description of the document.
35. You can also add any instructions regarding the document to be uploaded.
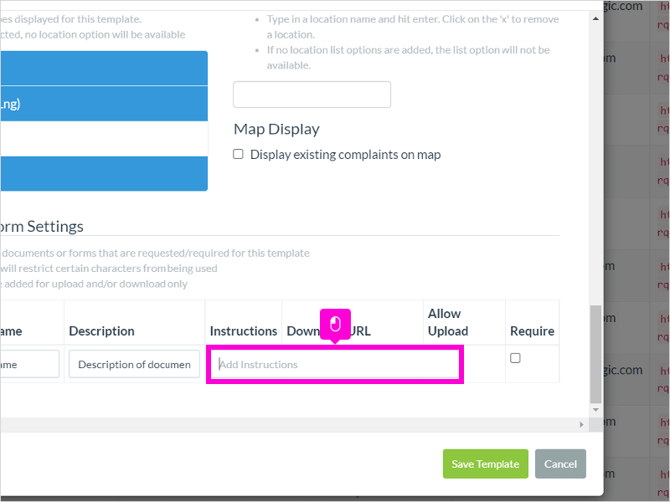
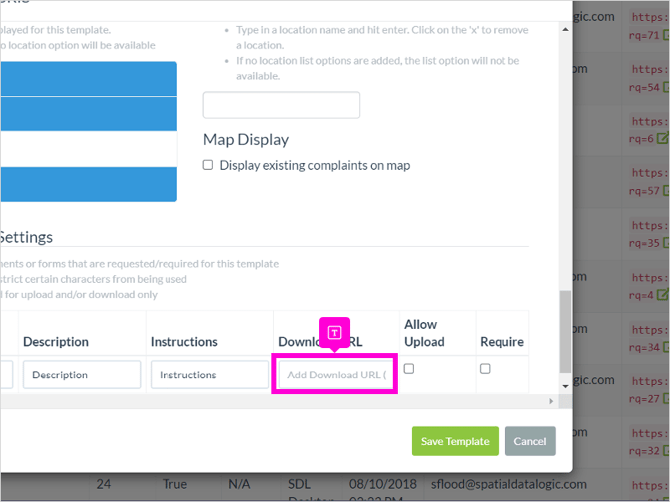
36. If you have a form that needs to be included with the request, you can provide the document web address.
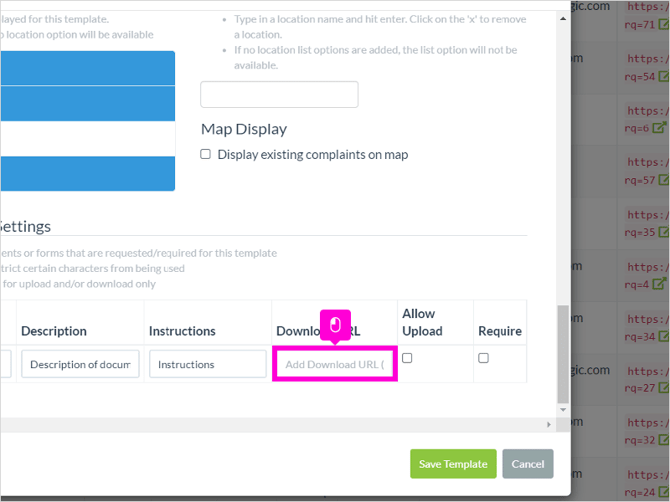
37. The document can be downloaded, completed and then uploaded to the complaint request.
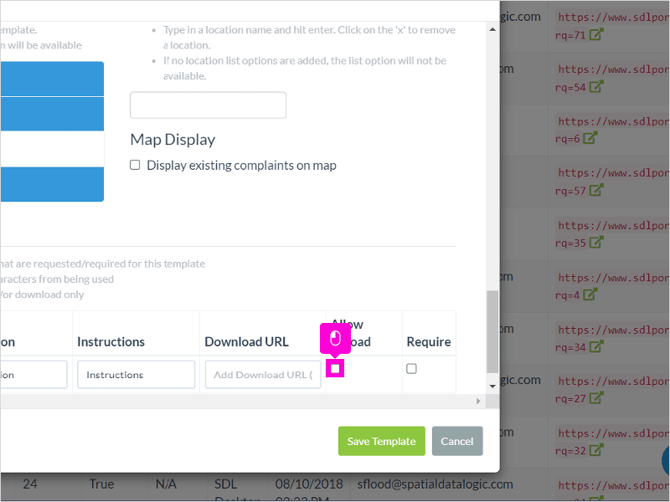
38. Check the box to allow document upload.
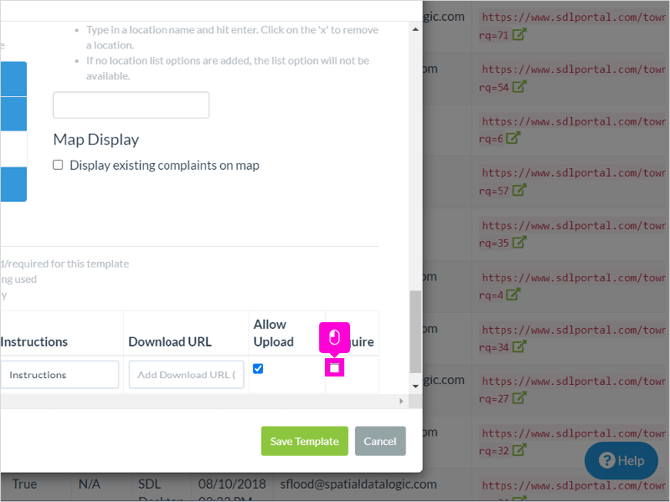
39. If the document is required for the complaint processing, check the required box. The complaint submission will not progress until the document is uploaded.
40. After entering the information make sure to click Add to save the line item.
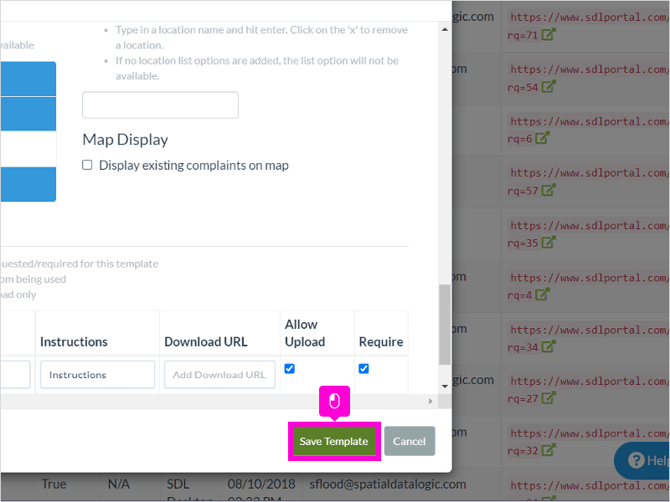
41. The template settings are now complete. The changes to the template will not be saved unless you click on Save Template at the very bottom of the page.
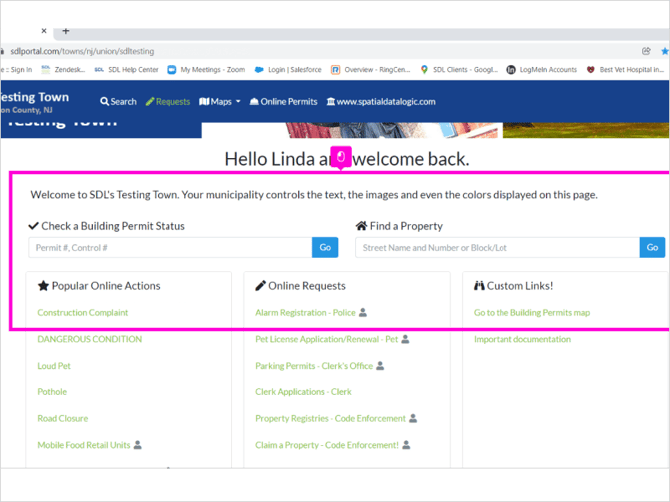
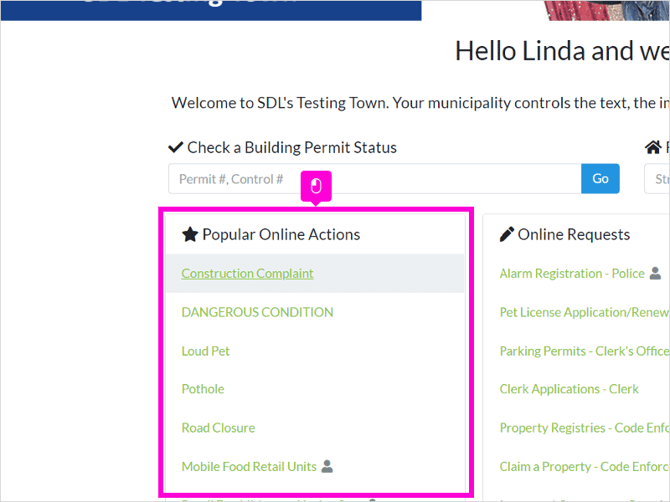
42. Depending on the Request settings, the complaint will display on the citizens home page.
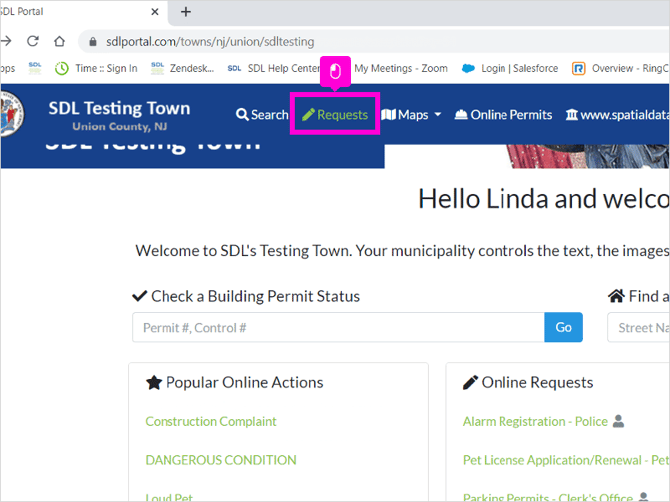
43. As well as the portal request page using the shortcut in the menu bar.
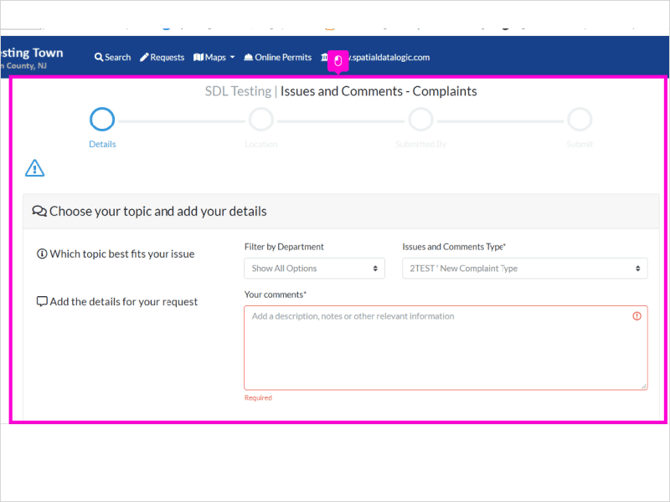
44. On the request page, all complaints will be found under the General/Multiple Departments section.
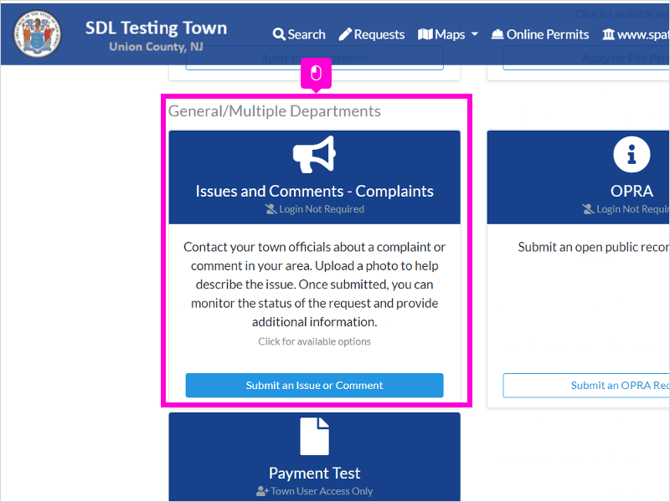
45. Remember, the Complaint type must be web enabled to be available on the portal. Please contact the SDL Support team or your town administrator if you need assistance to enable the portal request.
46. Your SDL Portal is now ready to accept citizen complaints. Please note that the portal must be made active under the Admin settings. Contact the SDL Support team if you need assistance in verifying your portal status.