![SDL - 2025 New Logo.png]](https://help.getsdl.com/hs-fs/hubfs/SDL%20-%202025%20New%20Logo.png?height=40&name=SDL%20-%202025%20New%20Logo.png)
Create A Certificate
Unit Certificate are added per unit, usually for change of owners or change of tenants. This guide is for adding a unit certificate but SDL desktop also allow you to add a certificate to a tenant. The process is substantially the same with the exception that you need to add a new tenant to the unit and add the certificate there. Also note this process is for taking in Paper applications, if you are interested in accepting Digital Portal Requests please contact our Support or Success teams. The Portal Request process drastically lowers processing time of the certificate application.
In general we recommend using the Properties datagrid to start this process. You can also use the Units datagrid or the Info pane if you find it easier to search there.
Start by searching for the address. If you find the property double click the record or click New to create a new property.
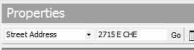
On the Property Editor, verify current Owner then select a unit or go tot he Units tab to add a new unit.
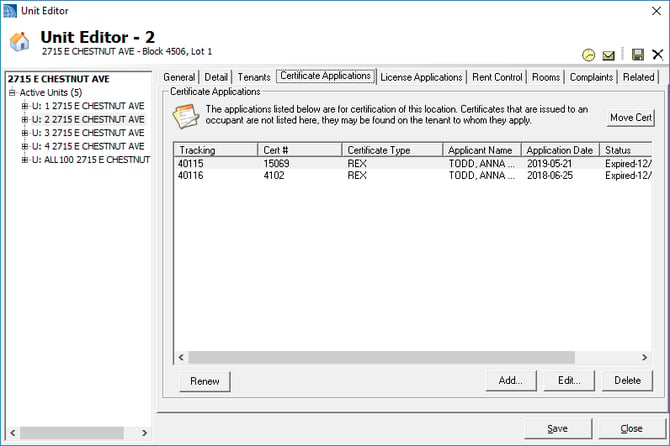
On the Unit Editor go to the Certificates Tab and click add
-png.png?width=670&height=447&name=UNit_Cert%20(1)-png.png)
On the Certificate tab, it should load the Owner and Applicant from the Property Editor Owner and contact information. Adjust as needed and se the Certificate Type and issuing officer.
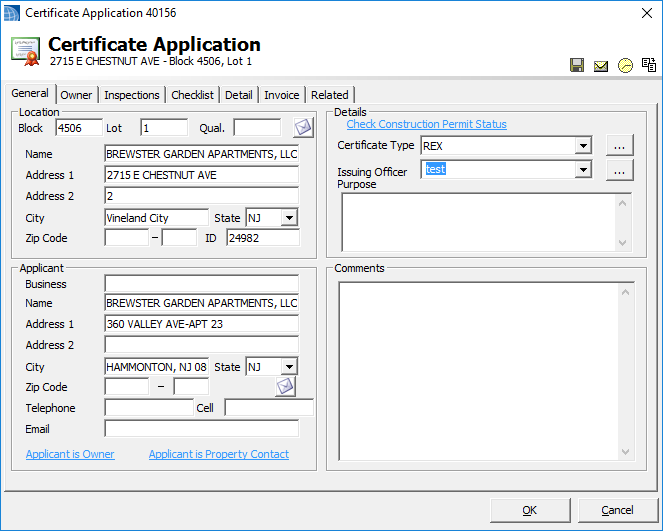
If you need to add the new tenant/buyer on the Owner tab. if you are planning on doing an inspection click add on the Inspections tab. All pertinent information should transfer over so you just need to set the inspector and date and click OK.
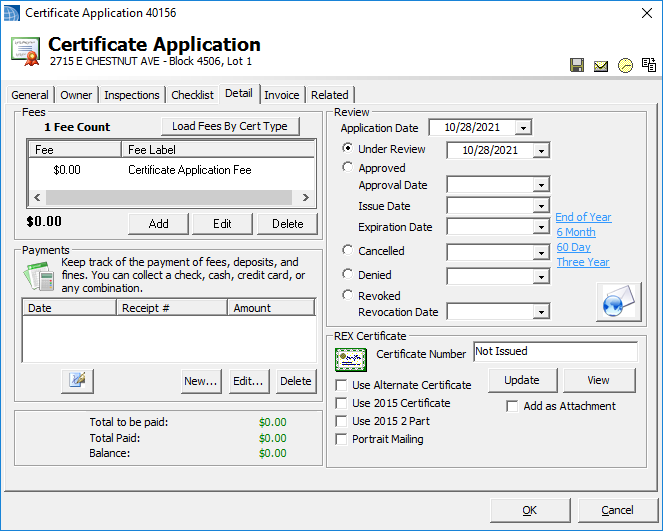
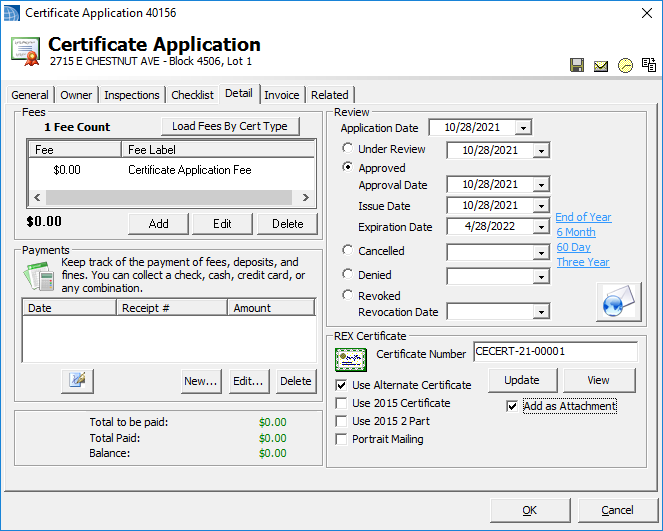
On the Detail tab click, Load Fees by Type, and add the payment if needed. Enter in the Application date and click the Under Review radial and enter the review date. if you are not doing an inspection go tot he next section for Issuing the certificate otherwise wait till the inspection passes. In some cases a reinspection is required and an additional fee is needed. In this case its best to not schedule the reinspection until the fee has been paid
Issuing a Certificate
Once all fees are paid and any inspections are passed you can enter the certificate again to issue, Access to the Certificate can be done from the Info Pane, Units Datagrid or Certificate Applications Datagrid. On the Details tab click the Approved Radial and enter the dates as needed. We provide several quick links for an expiration date if needed. Check of which report option you use and click view to review he certificate. If all looks correct we recommend you close and check off the add as attachment to view again (this can also be checked on the first view if you would like). If you plan to send a paper certificate click print on the print preview. We have also added an email button to the right of Revoked radial to email the Applicant the Attached certificate you just made.