![SDL - 2025 New Logo.png]](https://help.getsdl.com/hs-fs/hubfs/SDL%20-%202025%20New%20Logo.png?height=40&name=SDL%20-%202025%20New%20Logo.png)
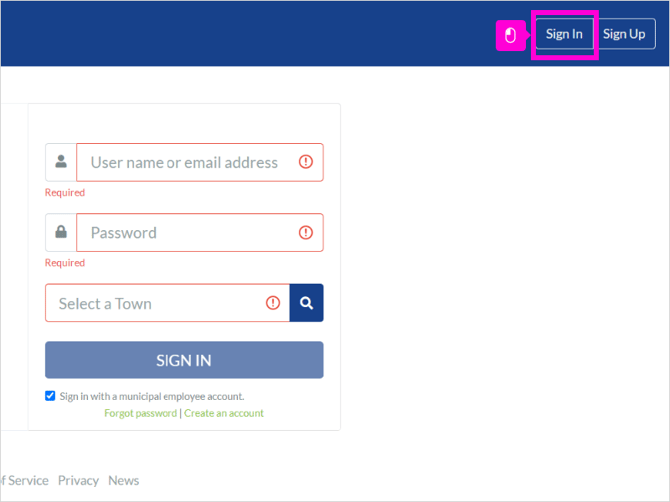
1. The first step is to visit www.sdlportal.com and click Sign In
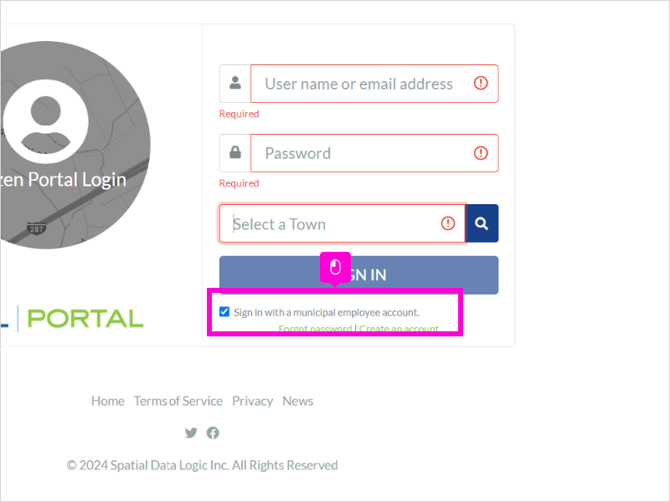
2. Check off Sign in with a municipal employee account
3. Enter your username and password. This will be the same login you use to access the SDL Desktop.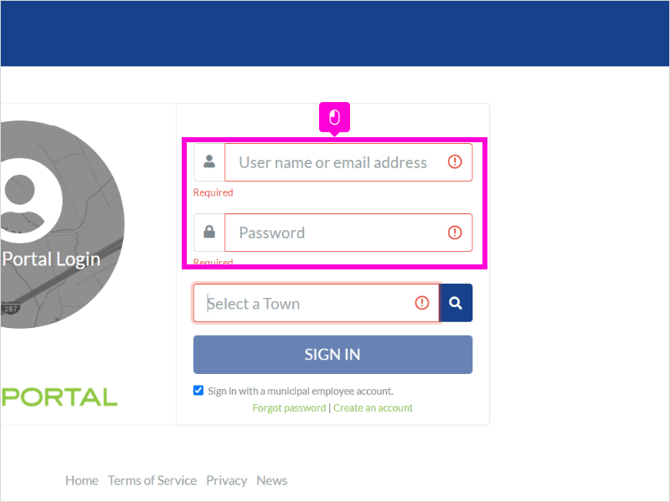
4. Type in your municipality and Press Enter or the search button.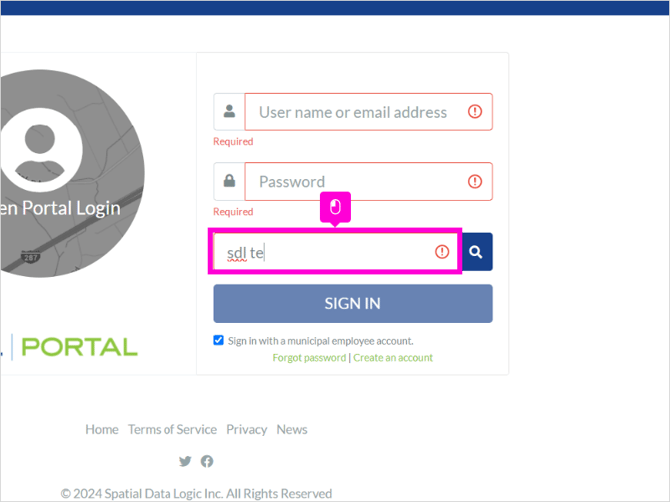
5. Select the Municipality Name from the drop down. Make sure the entire municipality name populates when you select it, including county.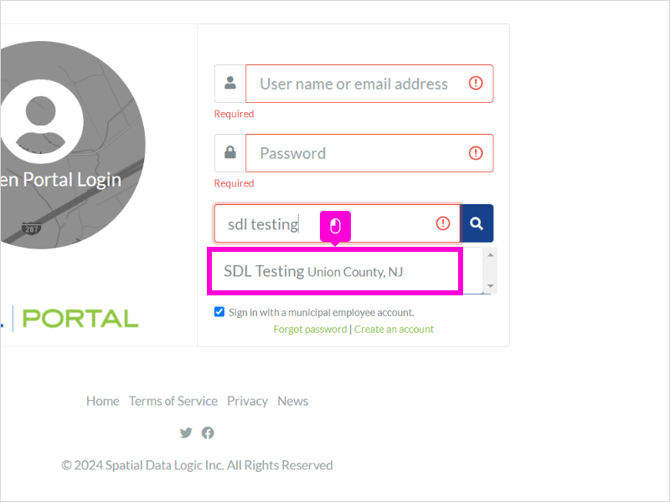
6. Click Sign In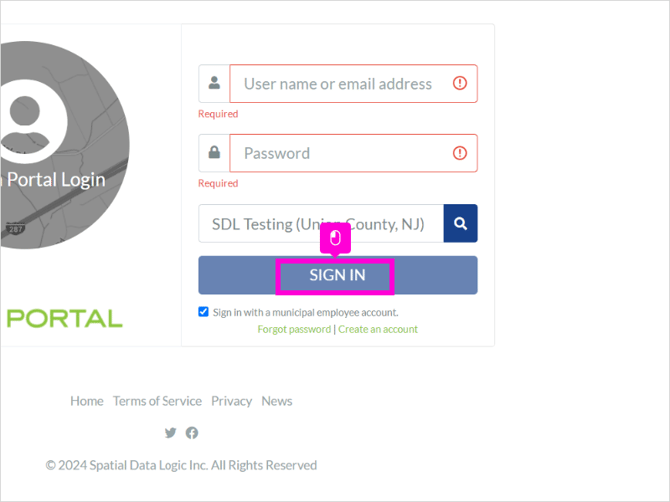
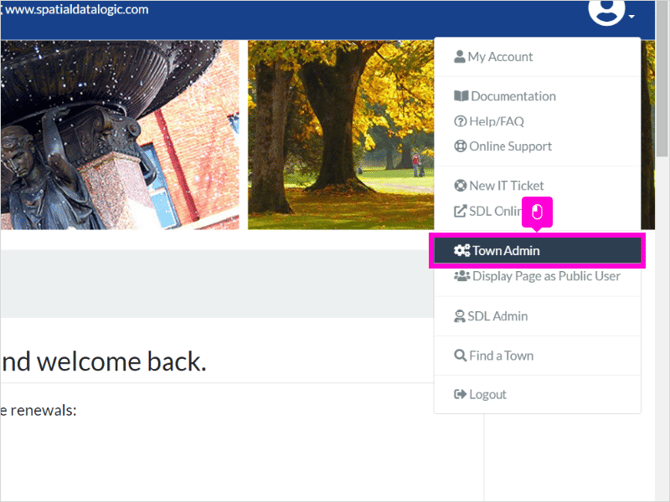
7. You will be brought to your municipality's Home Page. Click the menu dropdown in the upper right hand corner.
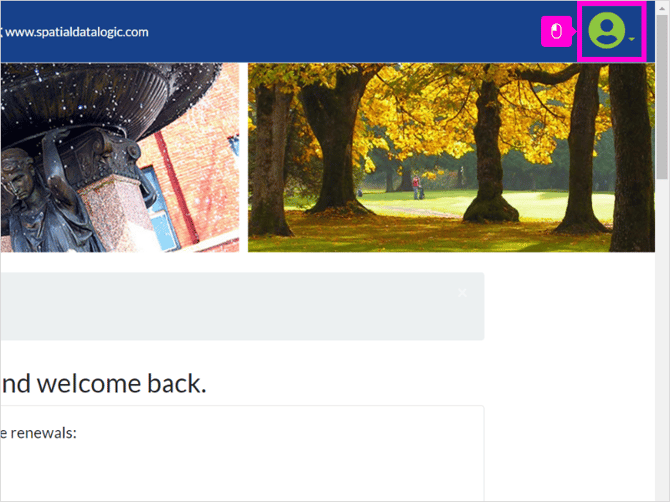
8. Click Town Admin. Please note, you will need to be an SDL Portal admin in order to access this menu item. If you do not see it, please contact your SDL Town Admin and they can request or provide you with access.
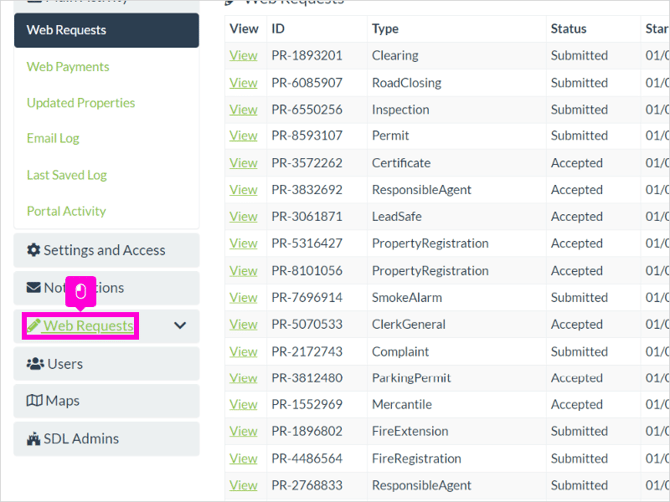
9. Click Web Requests
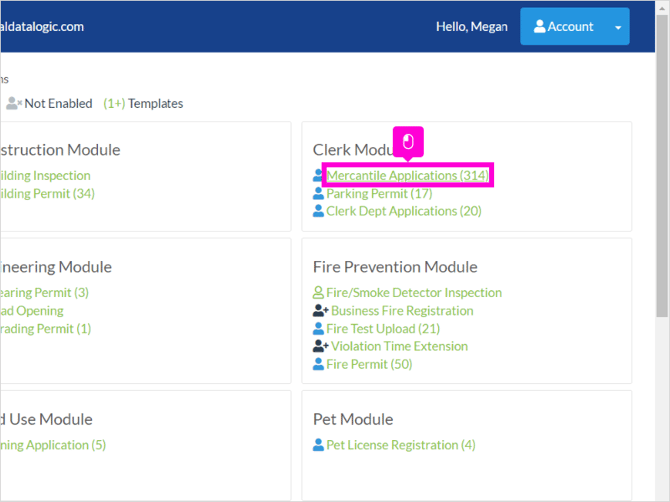
10. Click Mercantile Applications
11. You will be brought to the Request Settings. These settings will apply to all of your Mercantile Applications, regardless of the class type.
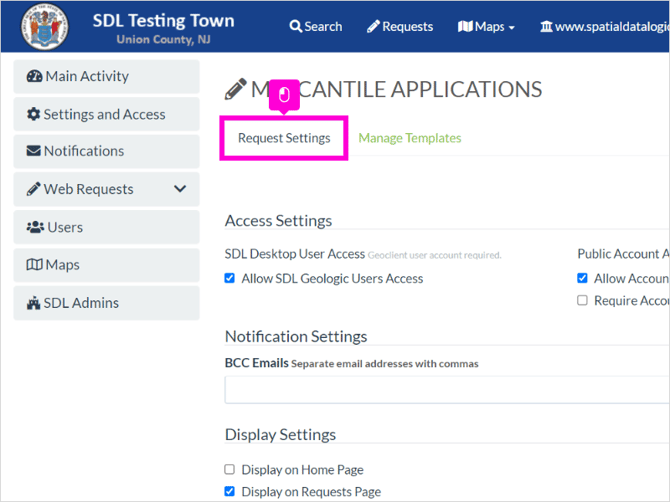
12. Allow SDL Geologic Users Access will only turn this portal request on for SDL Users to access. This is useful when testing, before turning the application on to the public.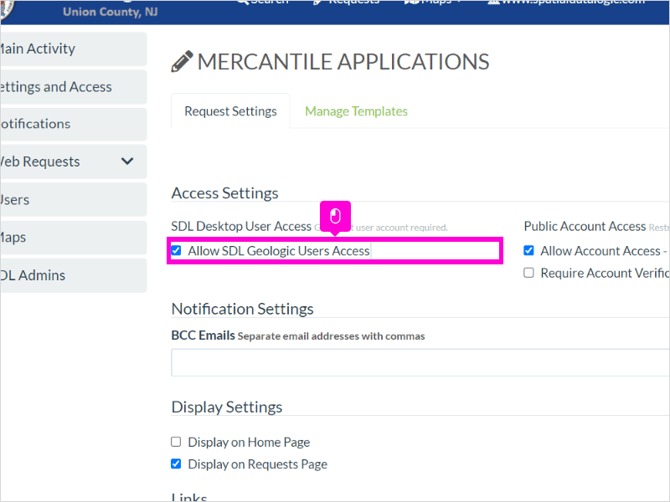
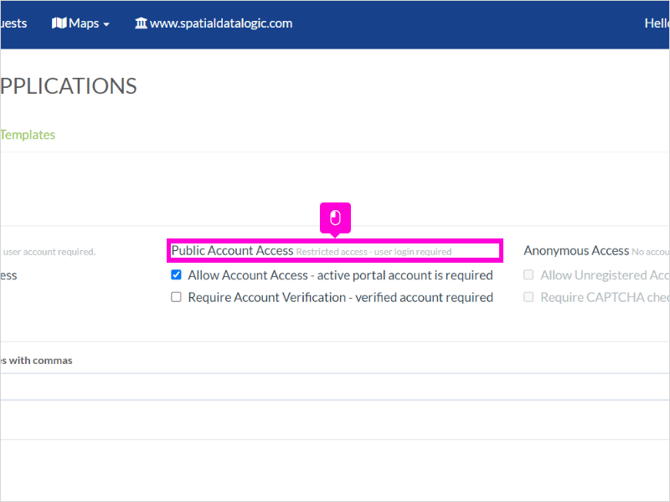
13. Public Account Access will turn the portal request on for public users who have created an SDL Portal public account.
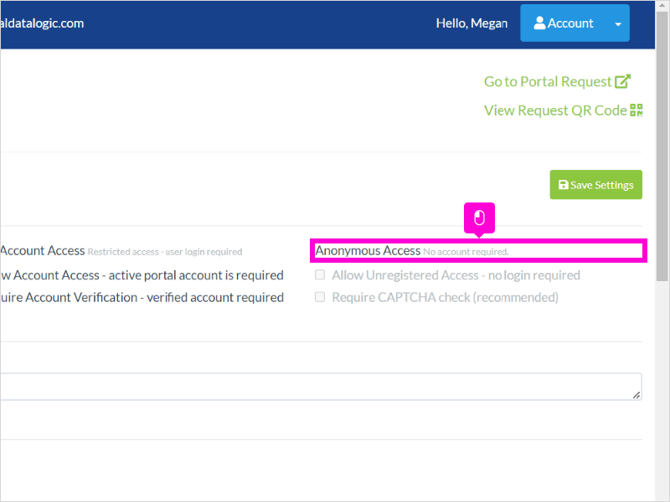
14. Anonymous Access will turn the request on for anyone to apply, even if they have not created an SDL Portal public account.
15. BCC Emails will email the addresses listed for every online application that is submitted. If you have multiple email addresses, separate with a comma.
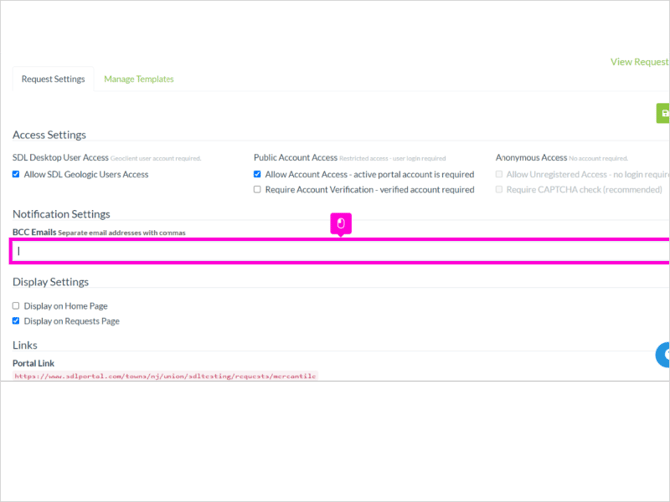
16. Check off Display on Home Page and Display on Requests Page to turn on the link to this Application on the Home Page of the SDL Portal and the Requests page of the SDL Portal.
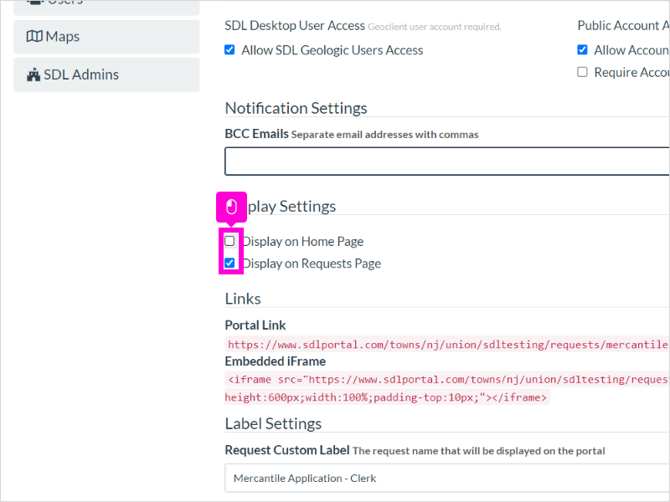
17. The Request Custom Label is the title of this Portal Request. Our default verbiage is in light gray, but if you would like to customize it, you can type directly into the text box.
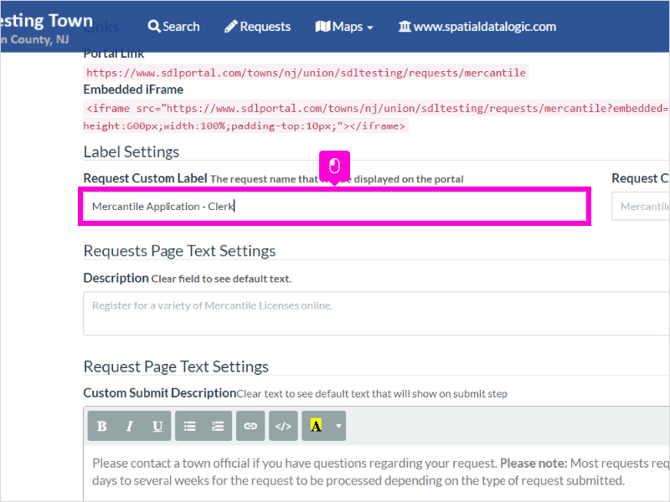
18. The Request Custom Button Text is the text displayed to start the application on the SDL Portal Requests page. If you would like to change the default, type into this field.
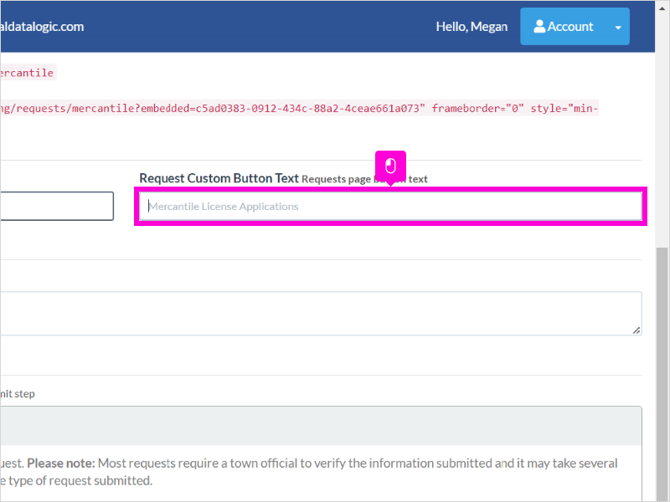
19. You can also change the Description of the request, as it is displayed on our Requests page.
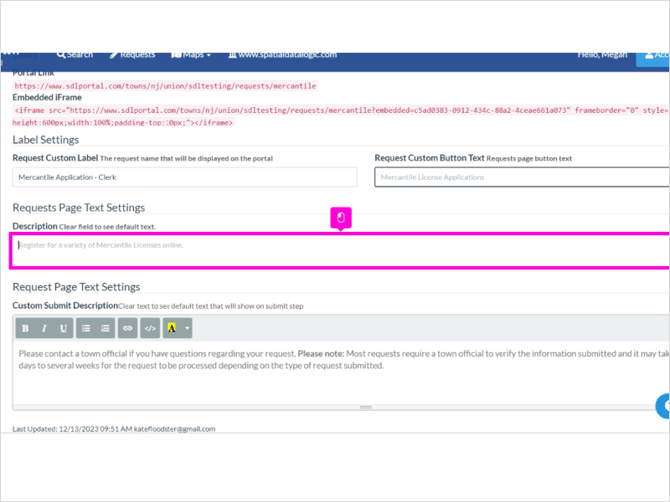
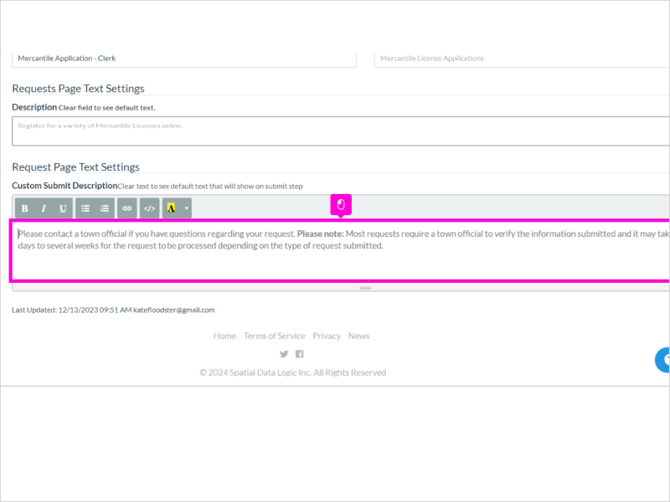
20. The Custom Submit Description is the last section of text that is displayed before an applicant submits their request. You can edit the default here. Again, this will display for every Mercantile Class / License type.
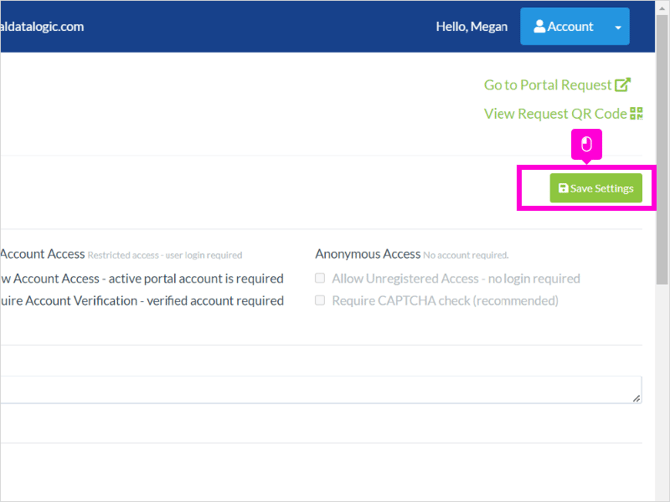
21. Scroll back to the top and ensure you Save Settings
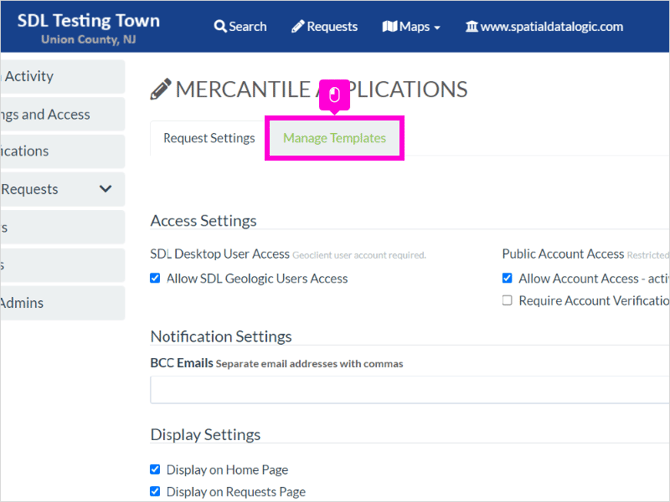
22. When you are done with the general Request Settings, you can select Manage Templates to further customize the requirements for the individual Mercantile Class Types.
23. This list of templates is populated based on the list of your SDL Desktop Mercantile Classes. To add or edit any items in this list, you will need to make those changes in your Mercantile Class settings in the SDL Desktop.
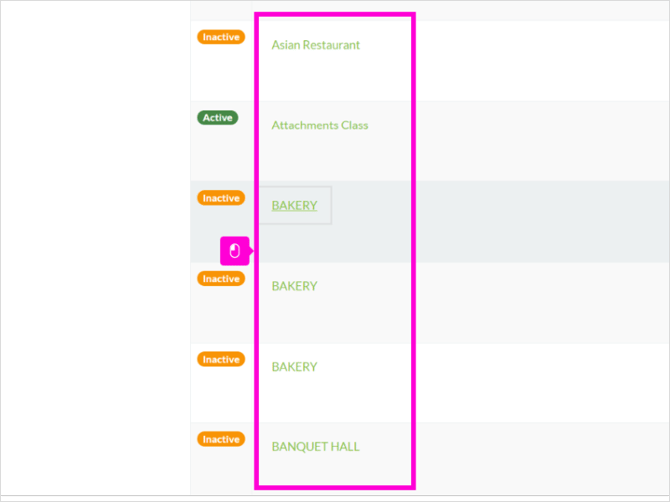
24. Notice each template will have a corresponding status to indicate if it is Active, SDL Only, or Inactive.
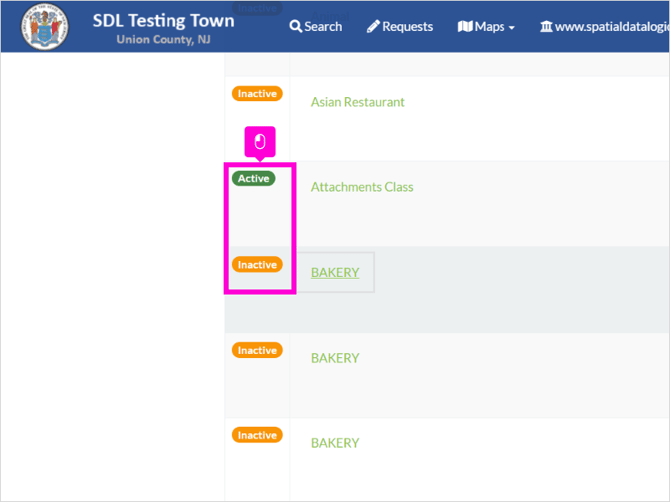
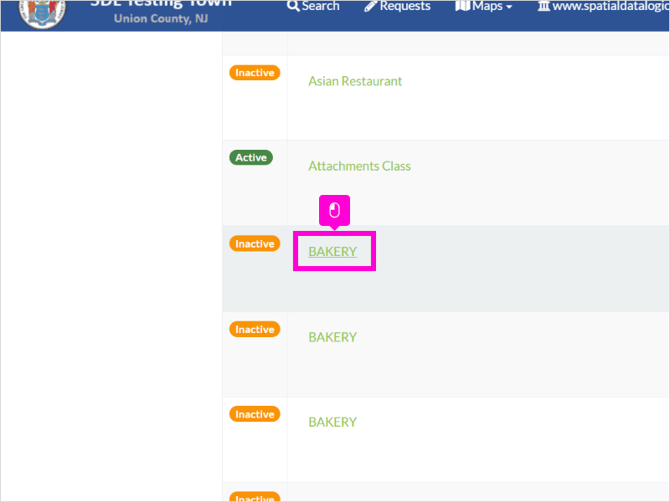
25. To edit a specific template, click on the template Name.
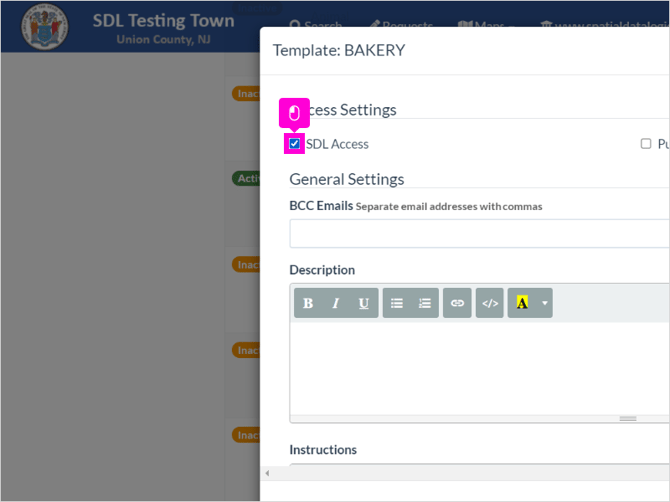
26. Click SDL Access to only turn this license type on for SDL Municipal Users.
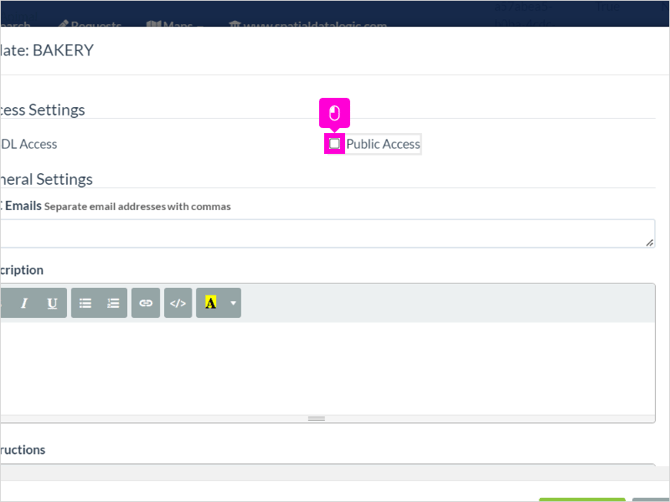
27. Click Public Access when you are ready to make this license type accessible to the public.
28. There is also a BCC emails field in the template. If you have already filled in an email address on the main request settings, you can skip this. If someone would like to receive BCC emails for ONLY specific license types, they can fill those in here
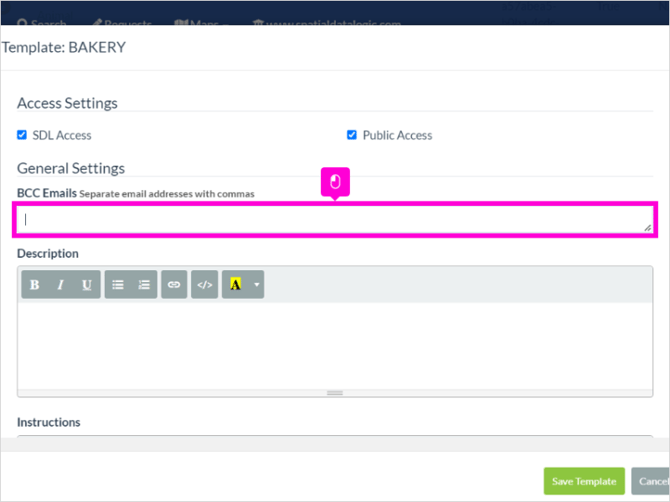
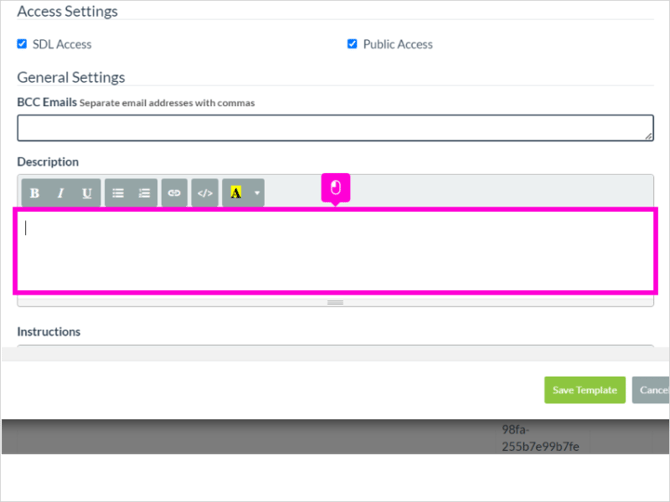
29. If added, a description will display at the top of the portal request, after the license type has been selected.
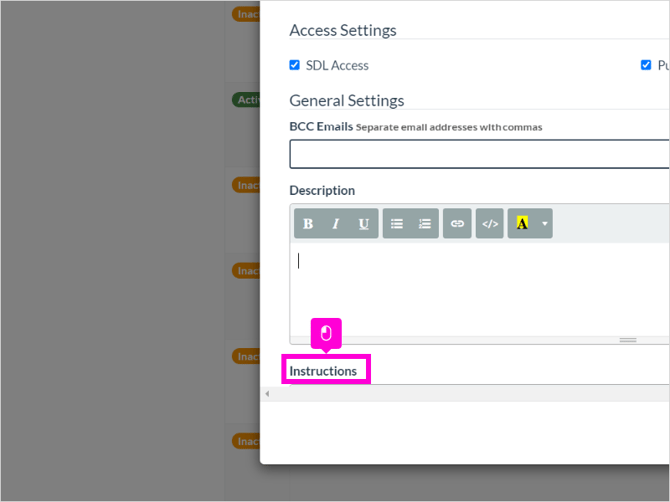
30. If added, instructions will display at the top of the portal request, after the license type has been selected, for new applications.
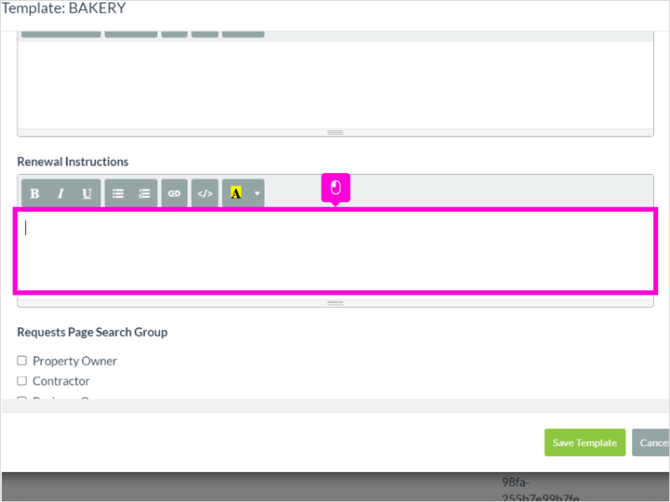
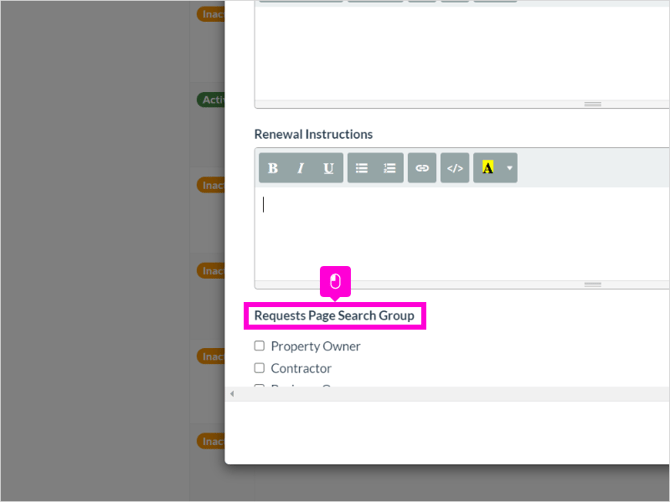
31. If added, Renewal Instructions will display if the applicant has selected to renew an existing application.
32. Skip the next few fields for now, we won't need to use them.
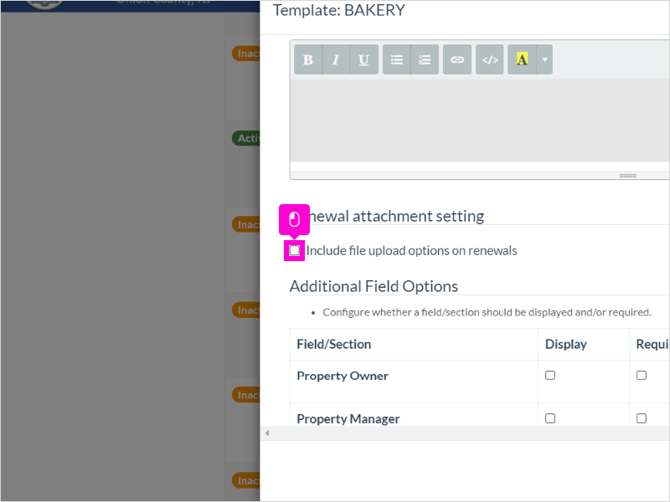
33. By default, any custom uploads will be required for new applications. Check off Include file upload options on renewals if you would like to require document upload settings be turned on for renewals as well. (We'll set these up shortly).
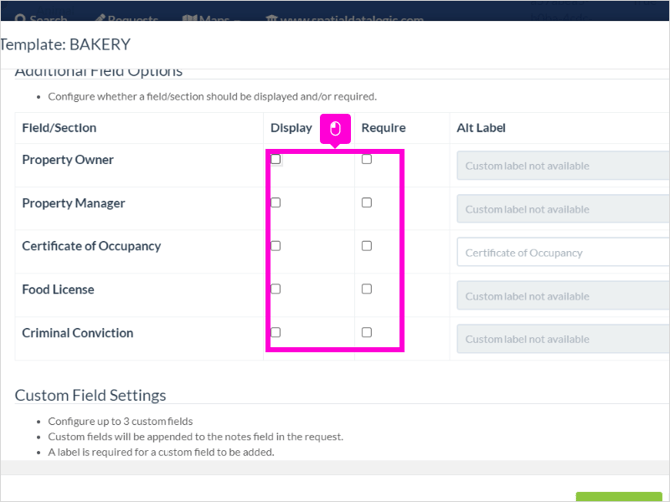
34. The next few settings will turn on additional fields to capture information for the field/sections listed. Hit Display to turn these fields on and Require to make them required.
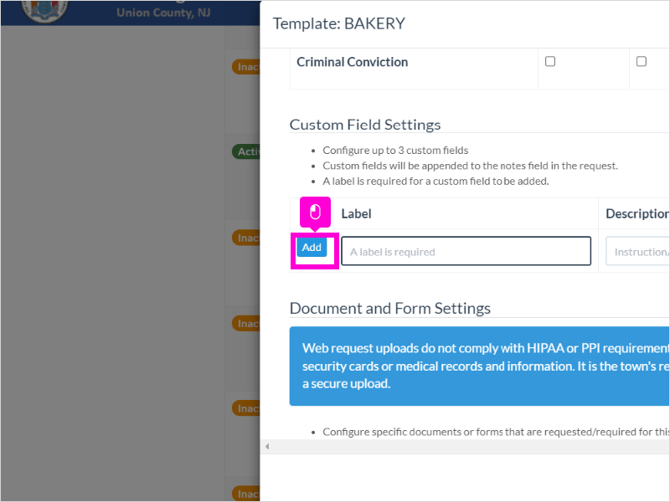
35. If you have any custom questions, you can add up to 3. Type the question in the label field.
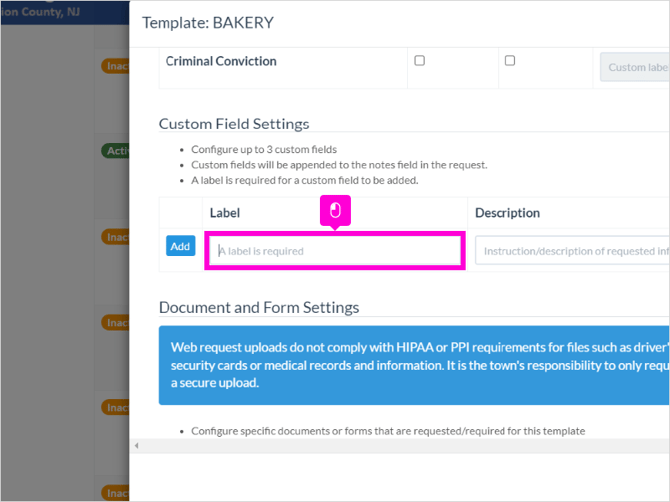
36. Click Add
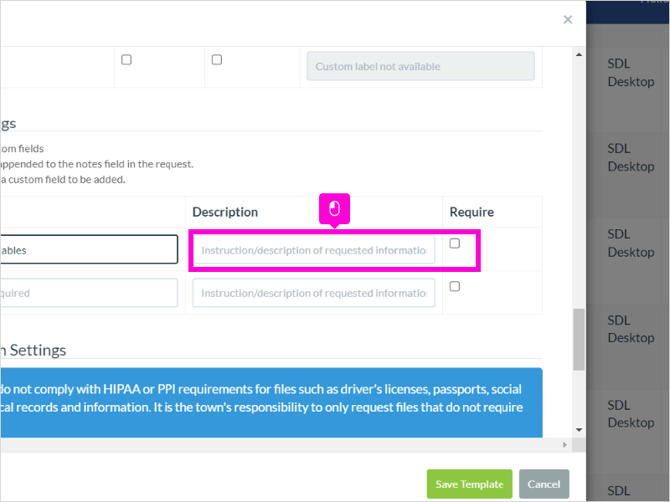
37. You can also add a Description or make the question required.
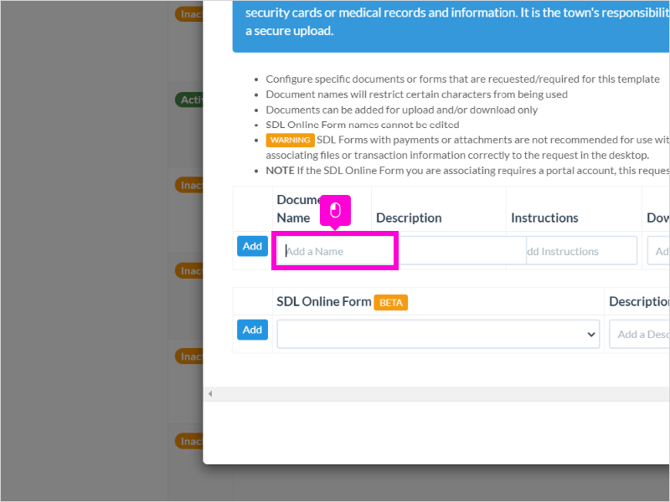
38. In the Document Upload section you'll be able to request specific uploads. Type the document name
39. Click Add
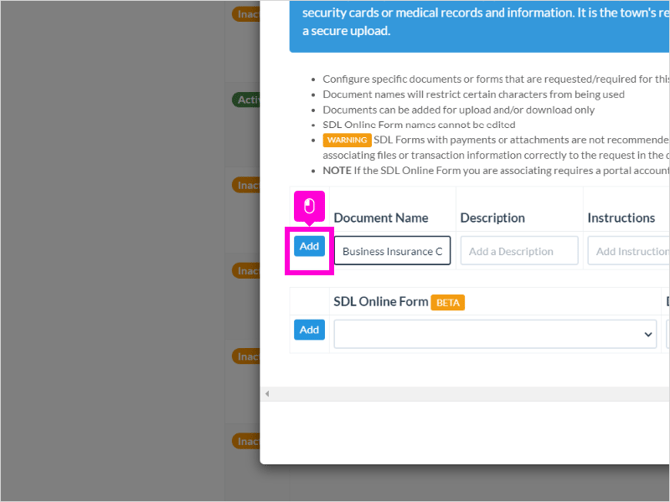
40. Add a Description if needed
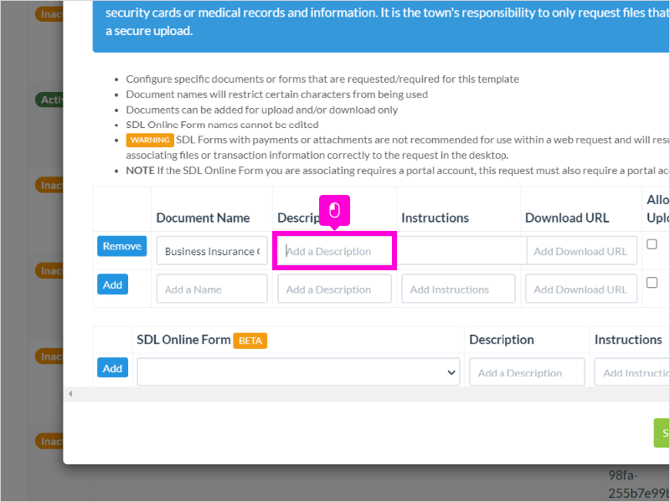
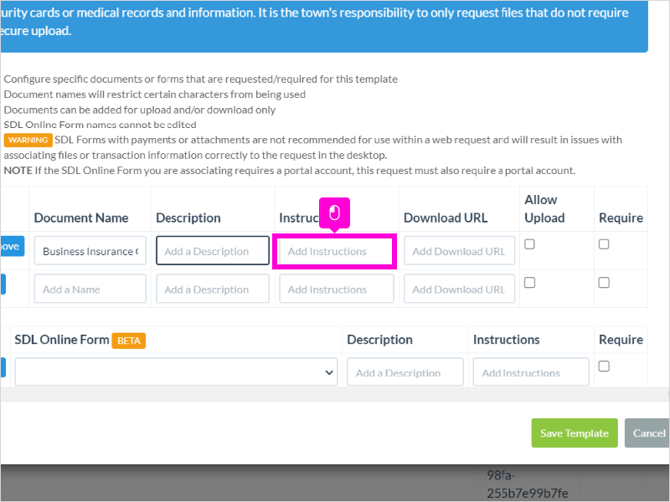
41. Add Instructions if needed
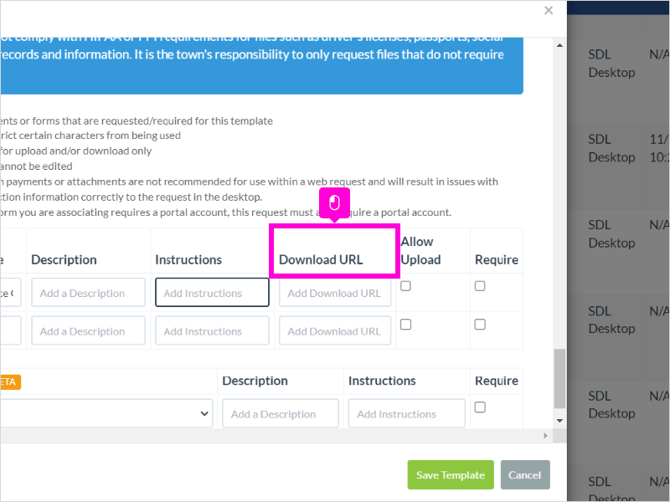
42. If you have any documents for applicants to download, you can paste the link to the PDF in the Download URL field.
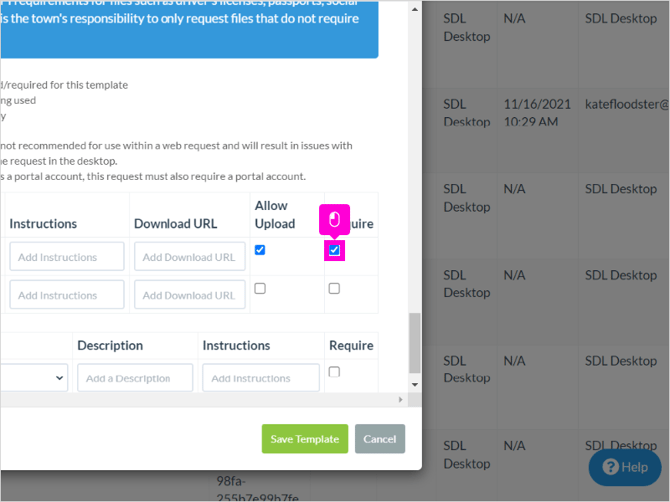
43. Click Allow Upload if this document will be uploaded by the applicant.
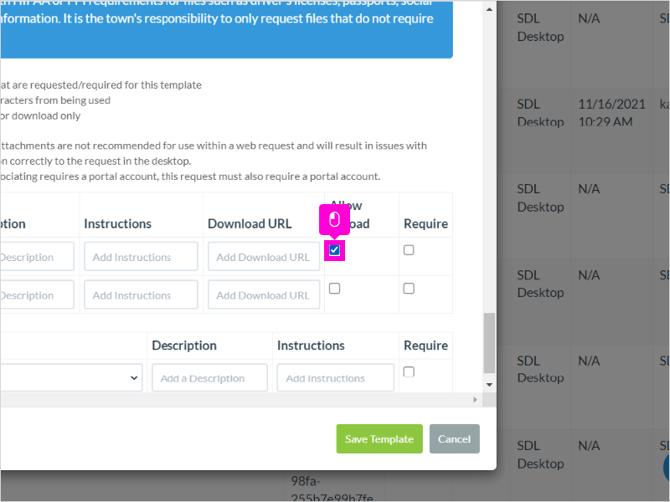
44. Click Require if this upload will be required. *Note these settings will apply to both new applications and renewals if you have checked off the previous setting indicating uploads required for renewals.
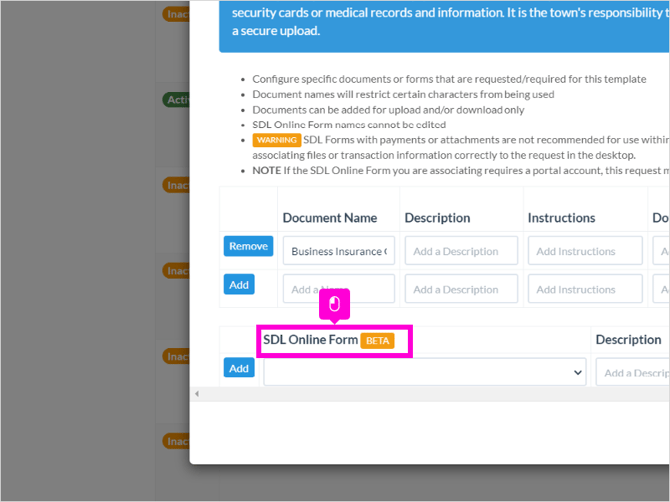
45. If you have an SDL Form you would like to incorporate into the Web Request, it must be set up first on SDL Online, and set to SDL Portal Account Access or Anonymous Access.
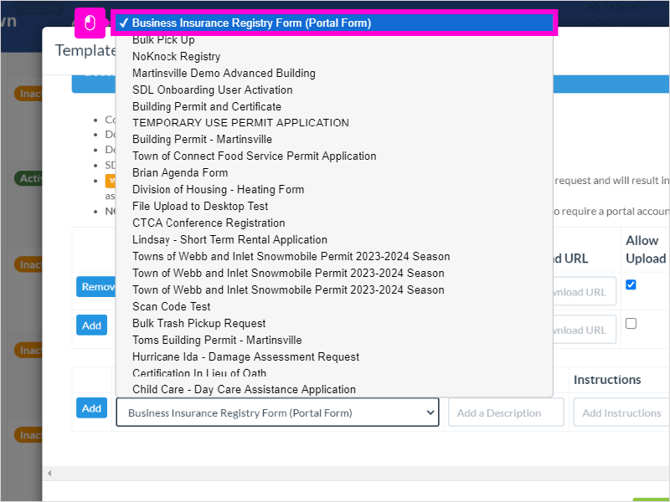
46. Selecting the dropdown will show you all active SDL Forms that meet those criteria. Select the applicable form.
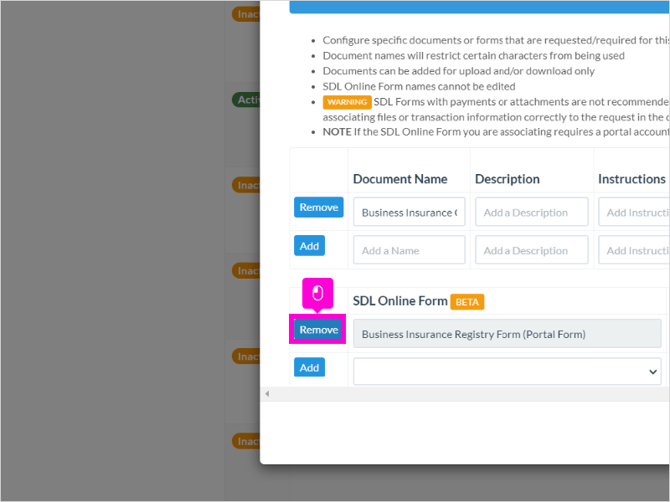
47. Click Add
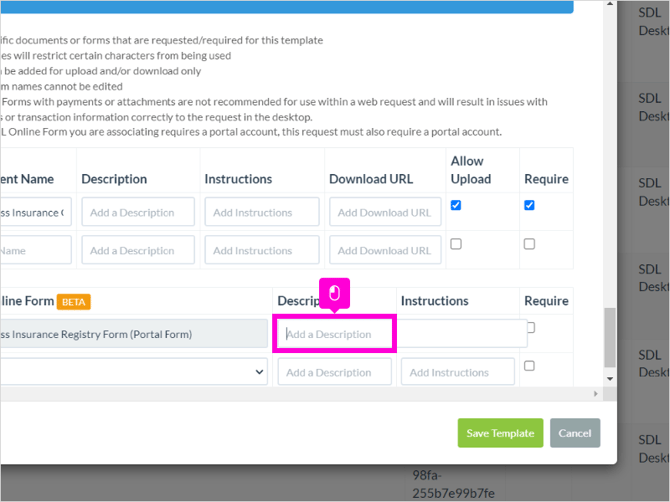
48. Add a Description if needed
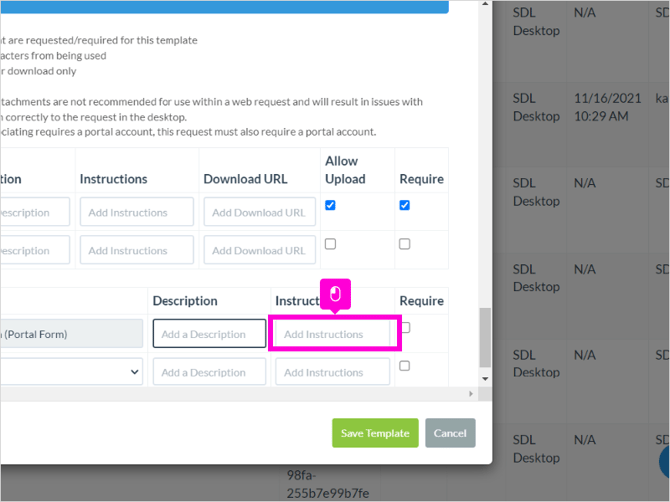
49. Add Instructions if needed
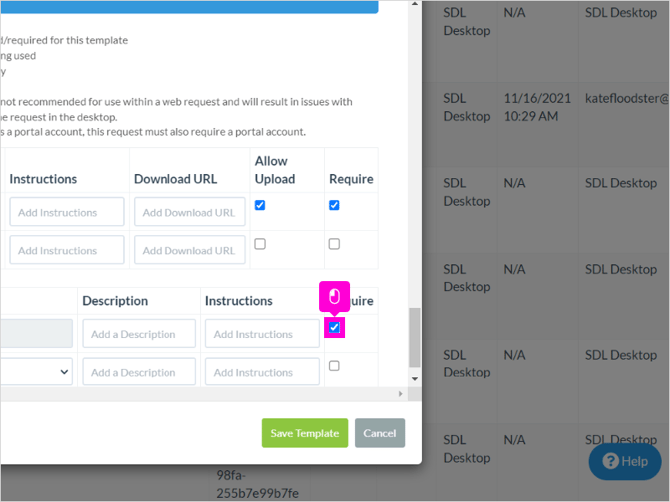
50. Click Required if you would like to require applicants complete this form.
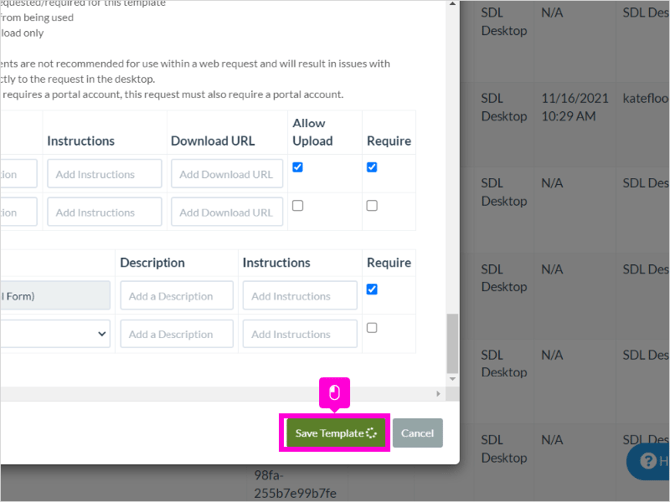
51. Scroll down and click Save Template
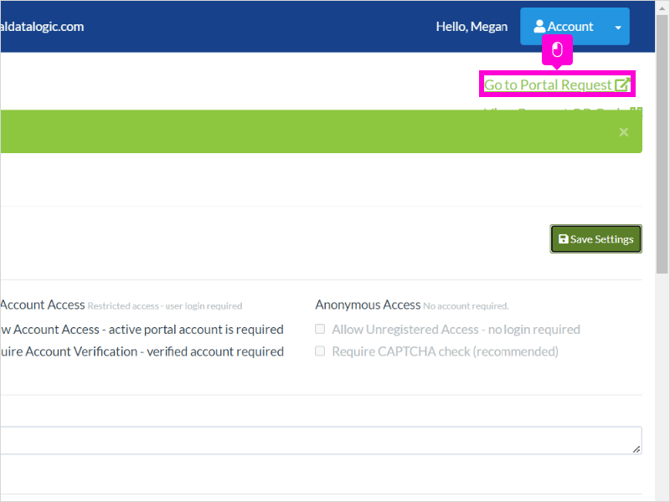
52. You can then select Go to Portal Request to see how your SDL Portal Request will display to public users.