![SDL - 2025 New Logo.png]](https://help.getsdl.com/hs-fs/hubfs/SDL%20-%202025%20New%20Logo.png?height=40&name=SDL%20-%202025%20New%20Logo.png)
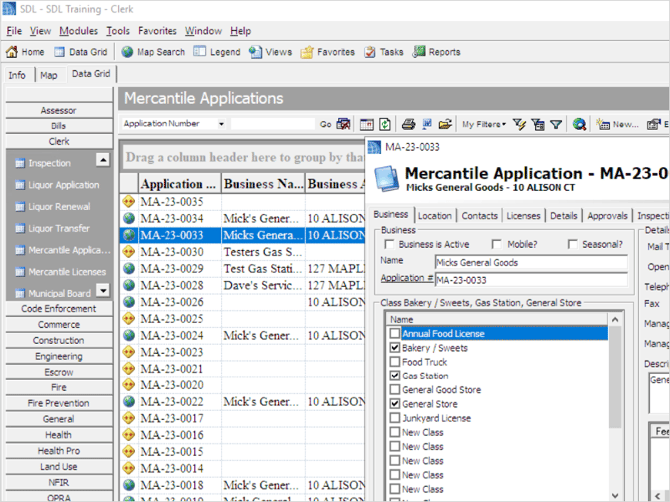
1. The first step is to open SDL Desktop and make sure that you are in the Clerk Module
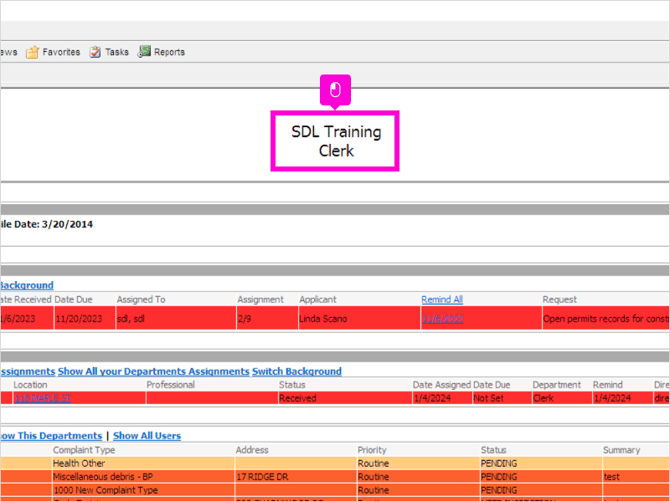
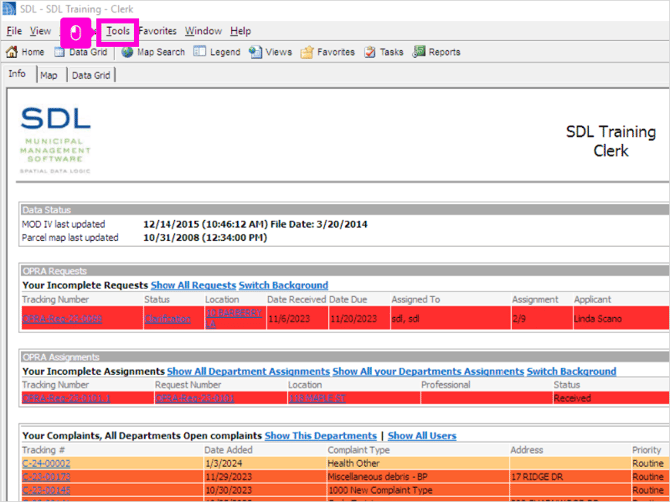
2. Click Tools
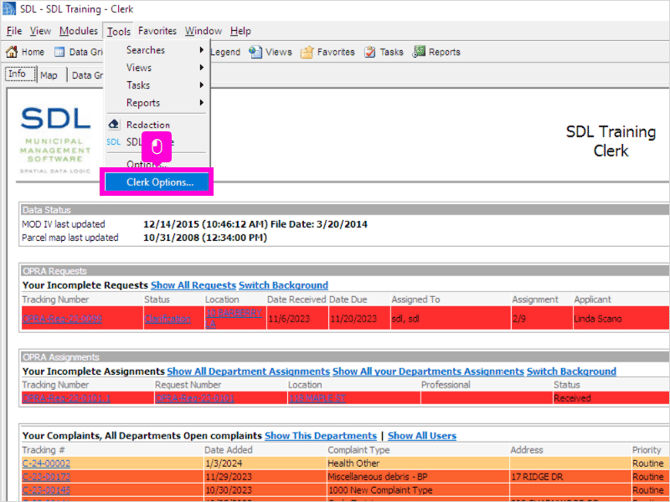
3. Click Clerk Options...
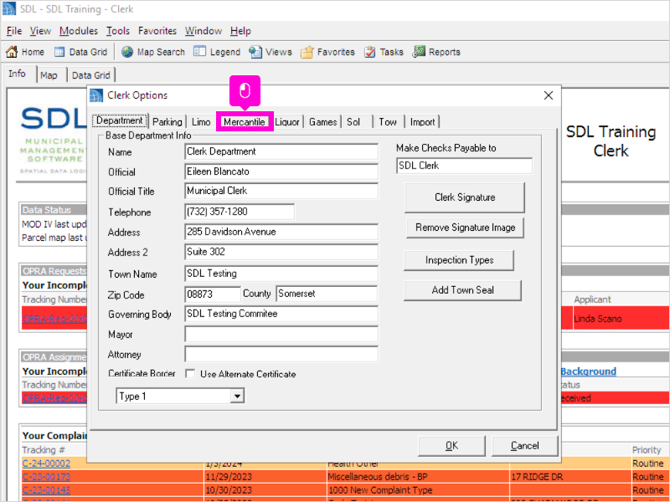
4. Click the Mercantile tab
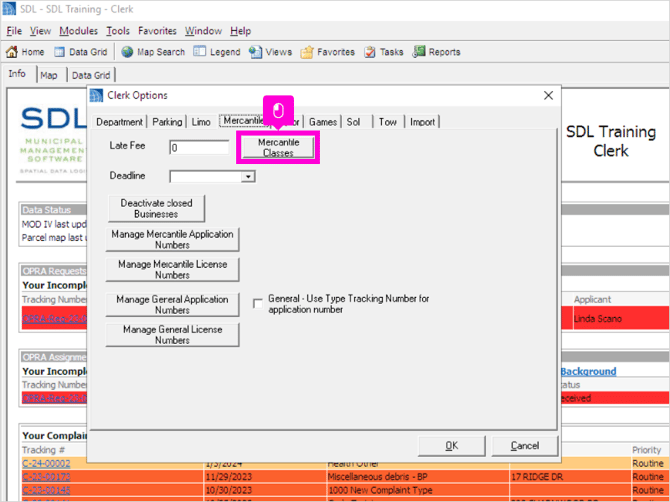
5. Click Mercantile Classes
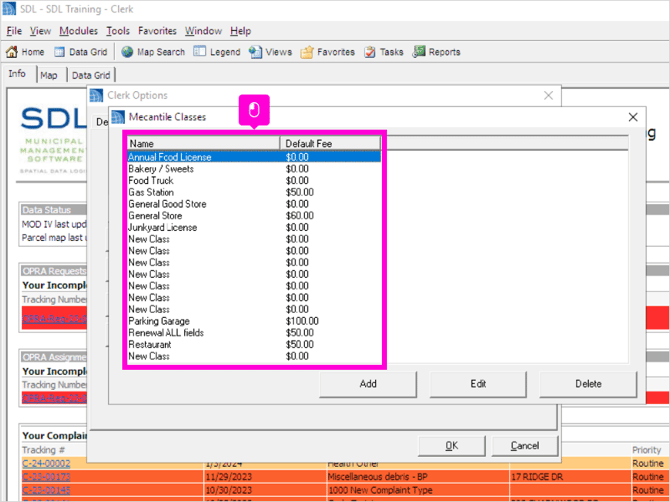
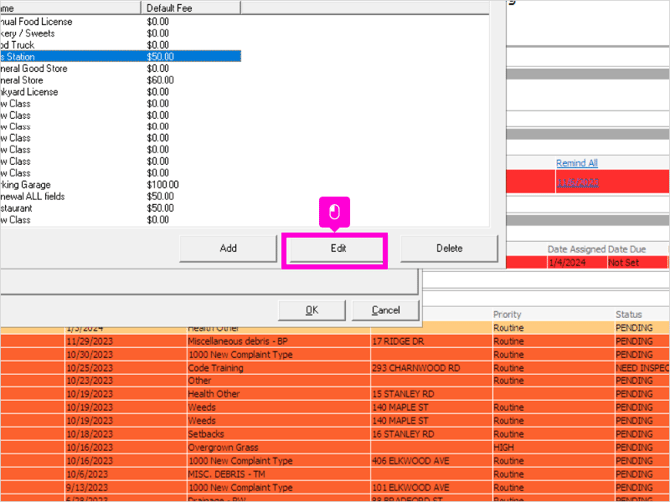
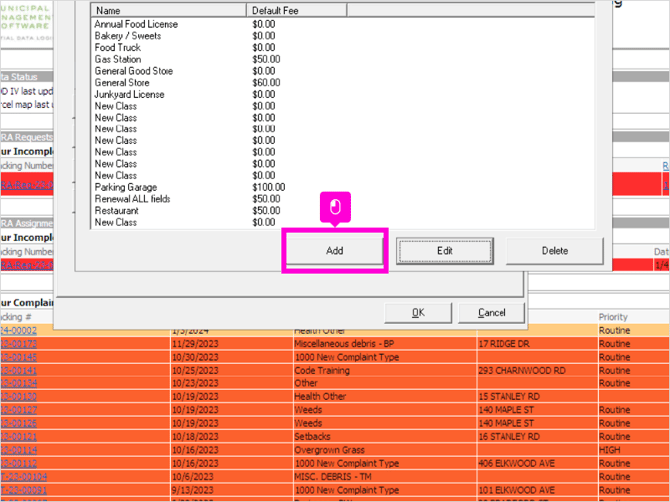
6. Here you should see all current Mercantile Classes available in your SDL Desktop
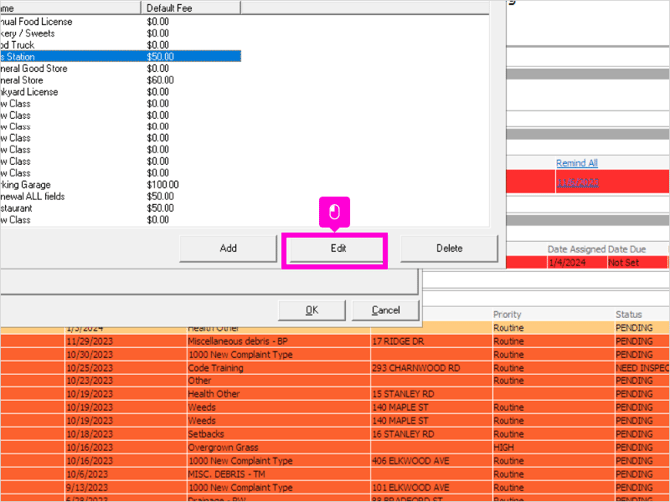
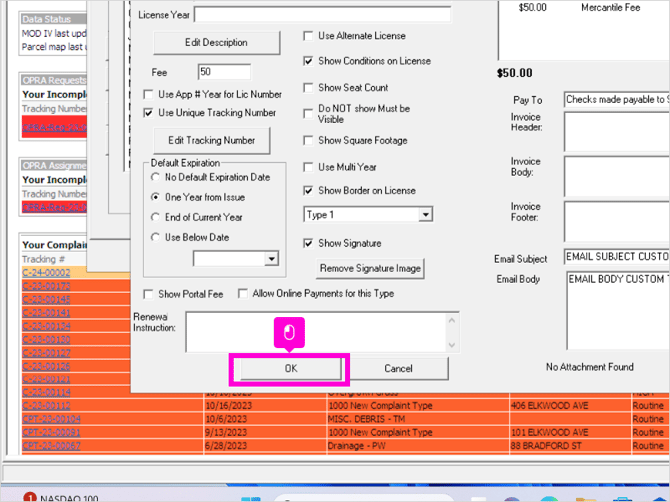
7. To make changes to an existing Mercantile Class name, default fee, or license settings, select the mercantile class and hit Edit.
8. If you are creating a new Mercantile Class, we recommend you open an existing Mercantile Class to see what settings were used, so you can easily set up your new class the same way.
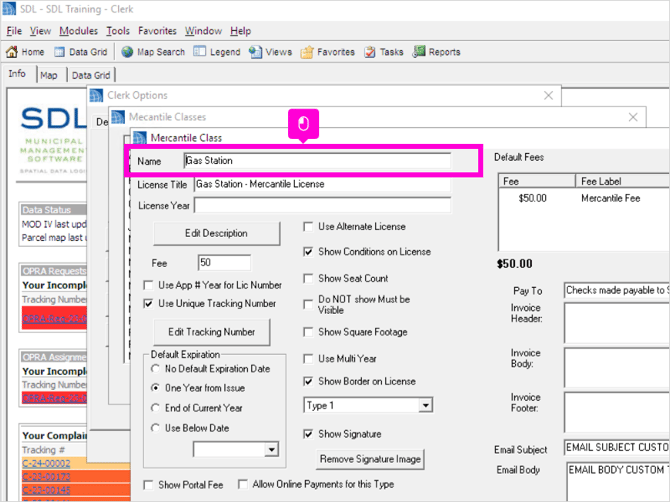
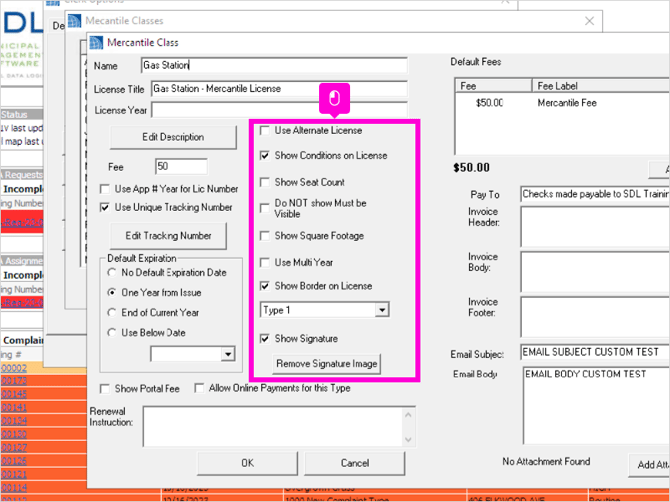
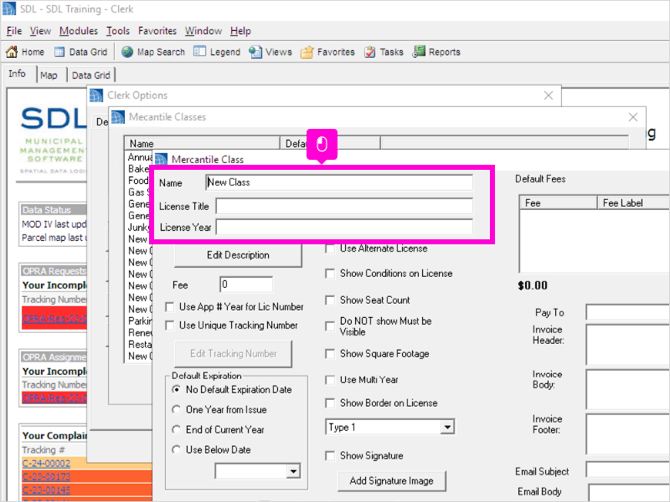
9. Name - this is what will display as the Class in the Desktop Application. It is also what will display as the License Type for Public Users to choose from if they are applying or renewing on the SDL Portal.
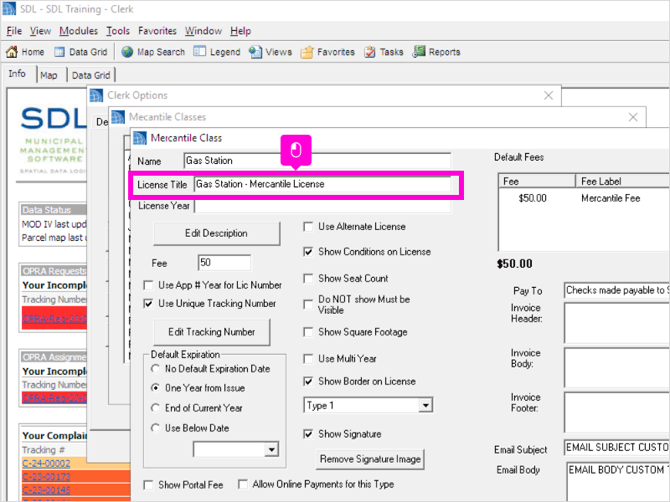
10. License Title is the text that will display on the top of the Mercantile License that is generated in the SDL Desktop.
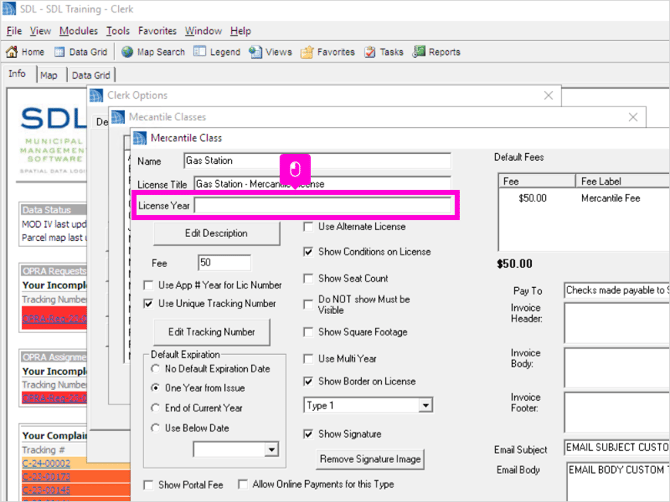
11. License Year will also display on the Mercantile License.
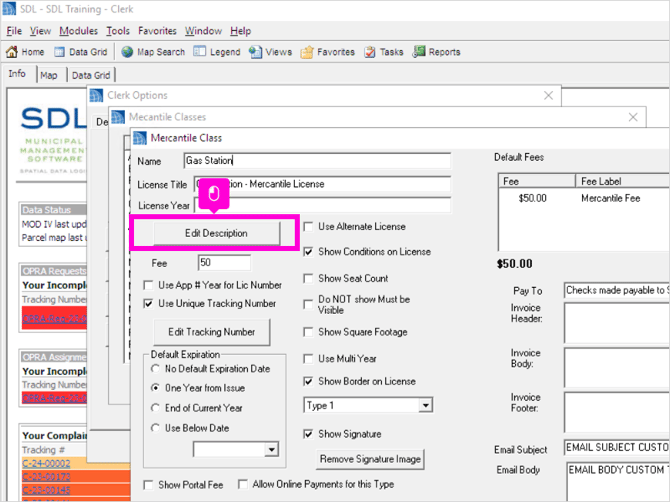
12. If you have a description for this Mercantile Class that you would like to include, you can add it to Edit Description.
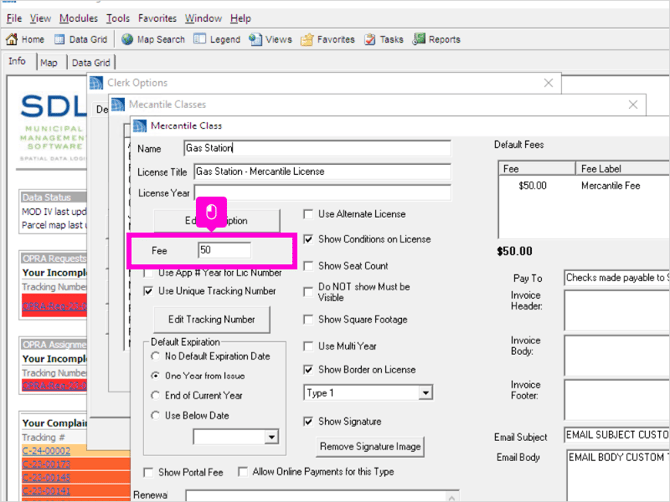
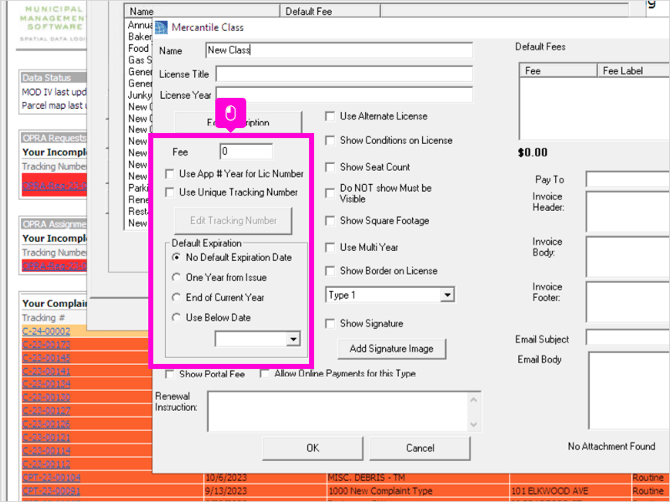
13. Add the base Fee for this Mercantile Class.
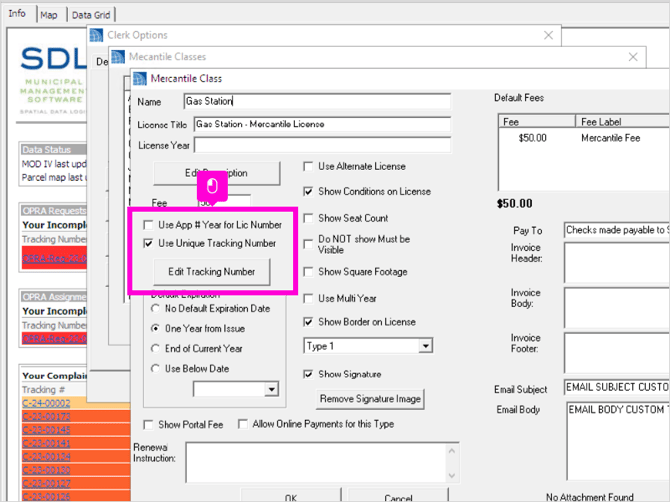
14. Your tracking numbers should have been set up on the main Mercantile settings. If this class has any unique tracking number requirements, you can set those here. Otherwise, you can skip these fields.
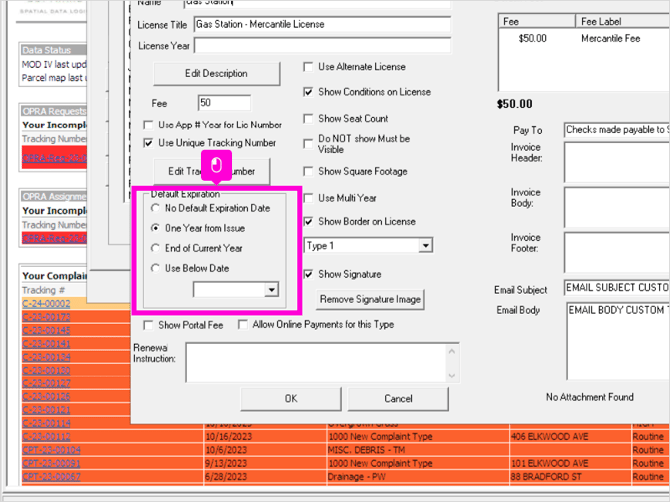
15. Default expiration dates can be set here. The options are None, One Year from the date the license was issued, End of current calendar year, or a custom date as set. *Note custom dates will need to be updated anually.
16. The license settings will affect what is printed on your Mercantile License. Again, we recommend using the settings that have been created for your existing Mercantile Applications, or leaving them unchecked as a default if unsure.
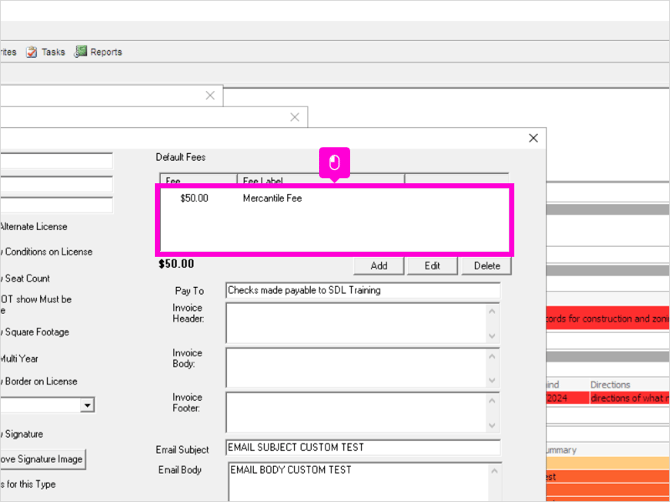
17. This section displays the default fee labels that will display on your Mercantile License record and will affect your reporting.
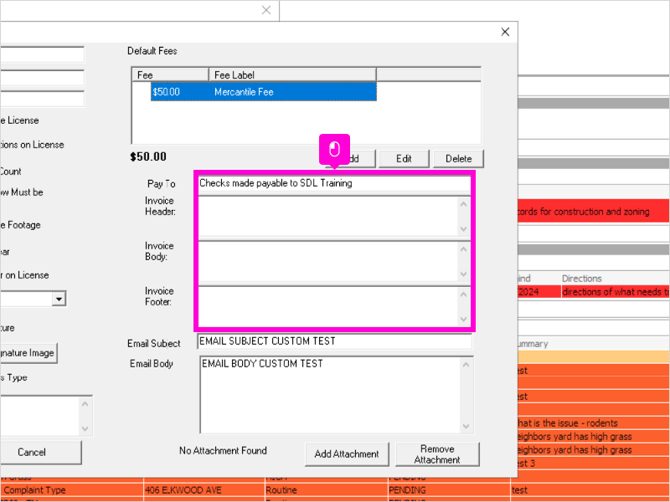
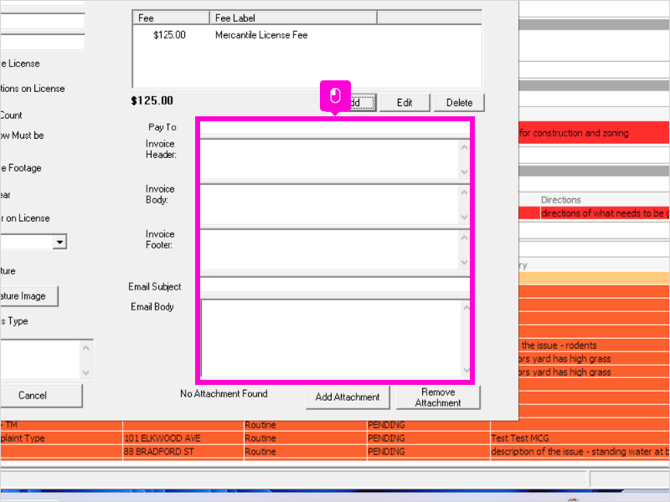
18. The next fields allow you to customize invoices generated for Mercantile Licenses in this Class.
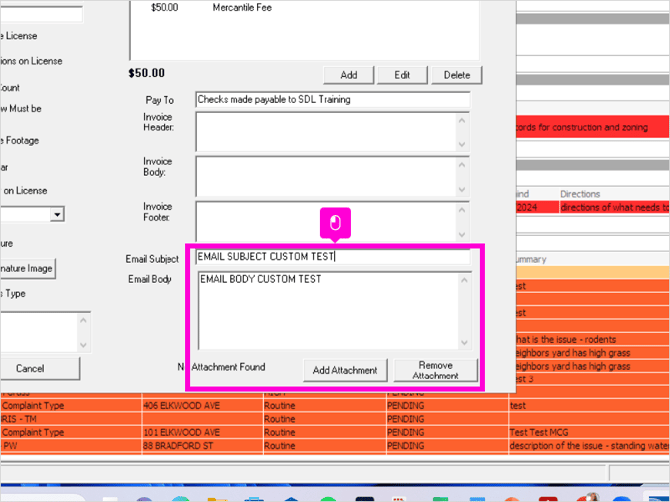
19. The final sections will allow you to customize bulk emails for Mercantile Licenses in this class. Please note, the bulk emails are generated from the Mercantile License datagrid.
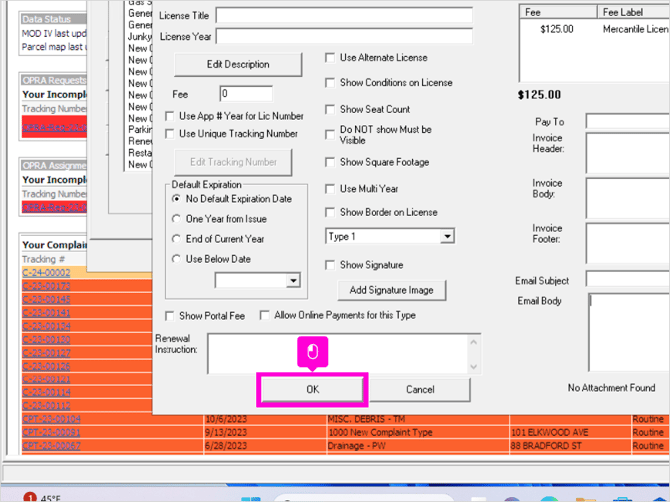
20. When you are done with any changes, click OK to save and close.
21. To Add a new Mercantile Class type, click Add
22. Enter the Class Name, License Title, and License Year if desired.
23. Edit the fee, tracking number if applicable, and expiration date information.
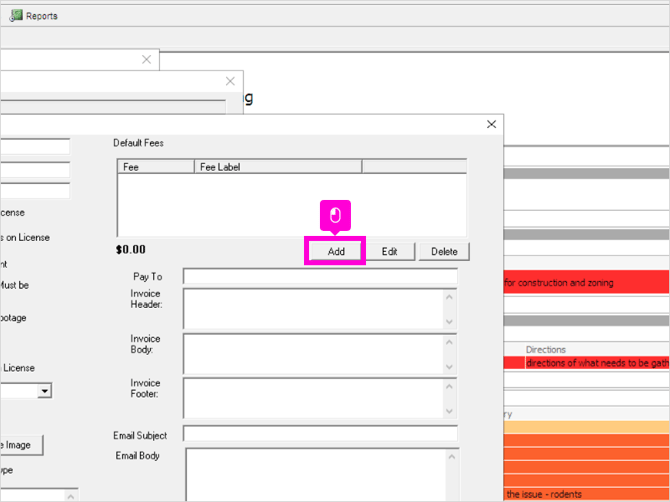
24. To create new default fee labels, hit Add.
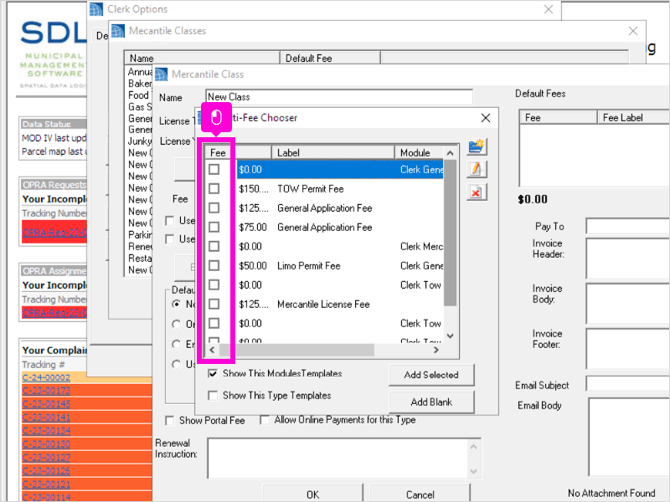
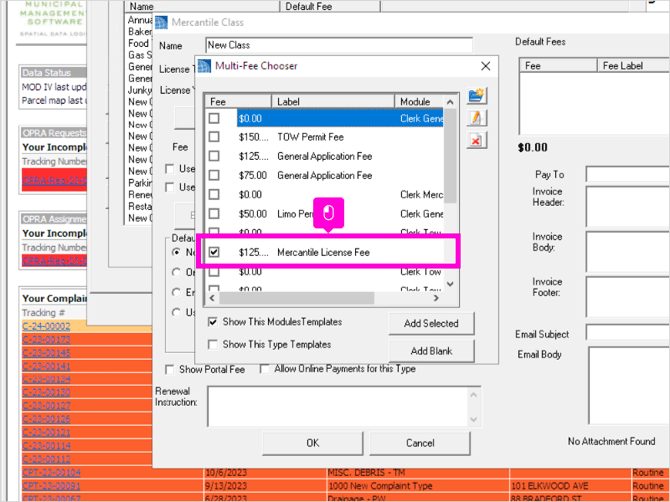
25. Some default Fee Types will already be available. If any of the saved Fee Types apply, select the check box next to that line.
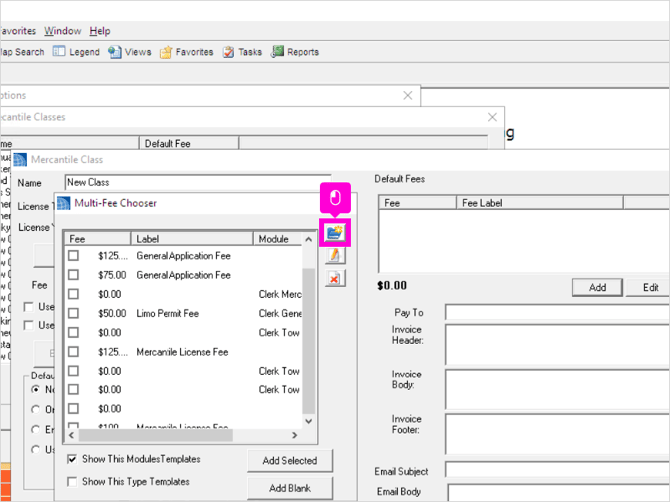
26. If you need to create a new Fee Type, click the blue folder.
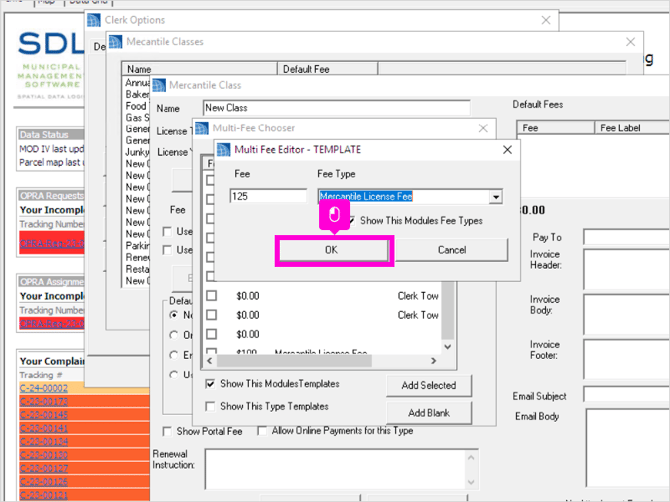
27. Enter the fee amount
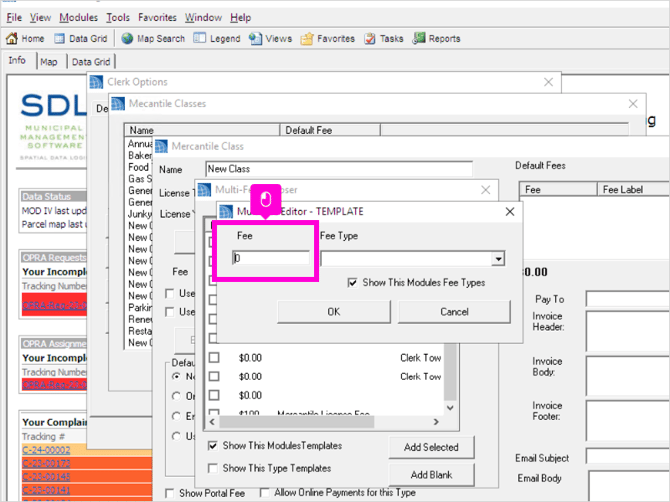
28. Select the Fee Type description from the dropdown.
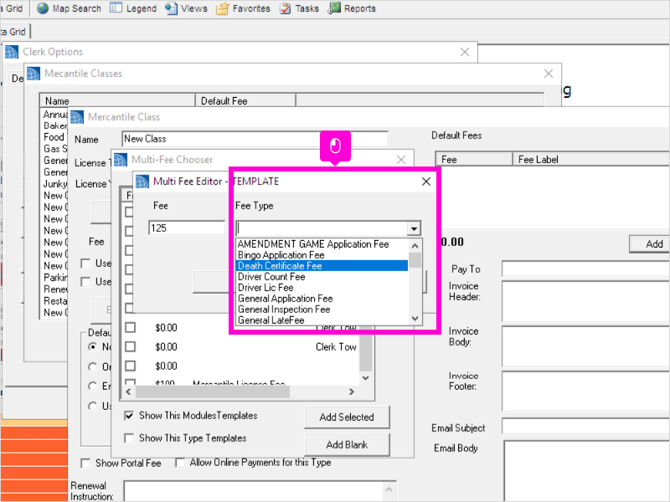
29. Click OK to save and close.
30. Check off the Fee Type you selected, or created.
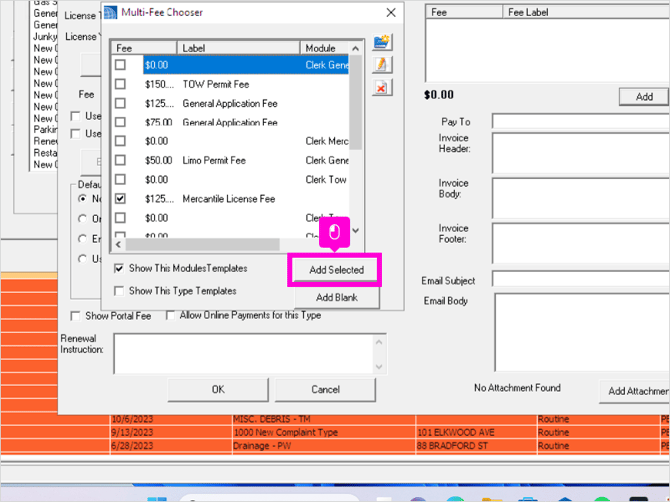
31. Click Add Selected
32. Enter any custom invoice or email text desired.
33. Click OK to save and close your new Mercantile Class.
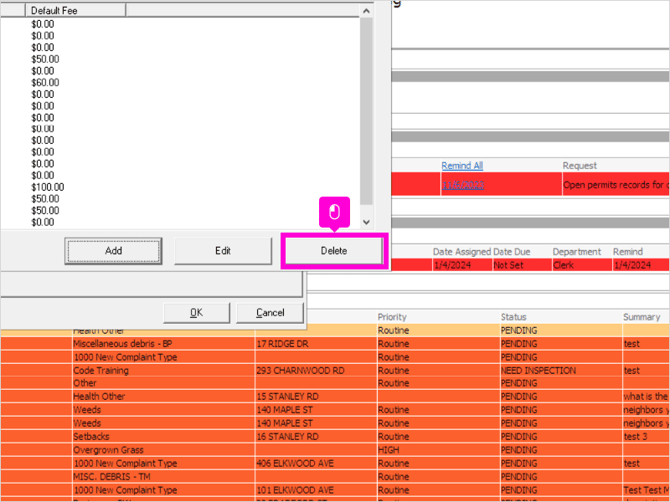
34. DO NOT DELETE ANY EXISTING MERCANTILE CLASS TYPES.
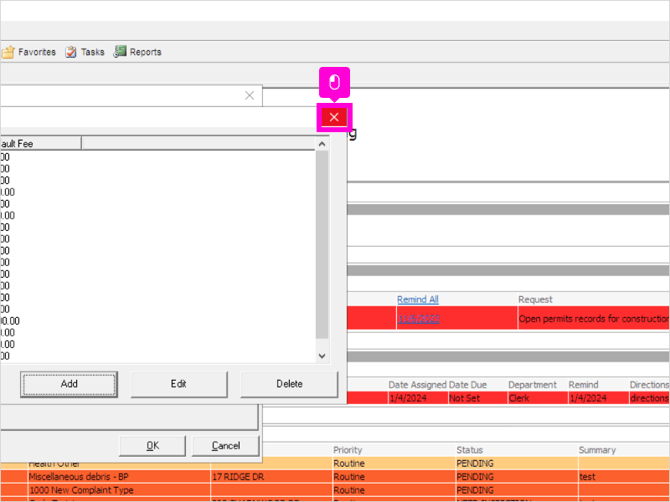
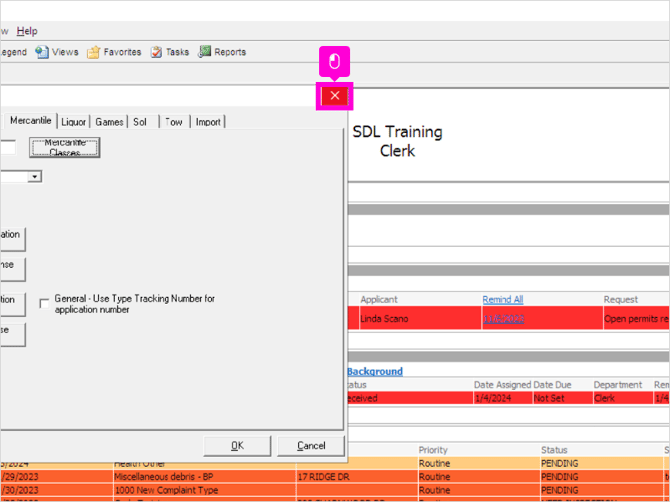
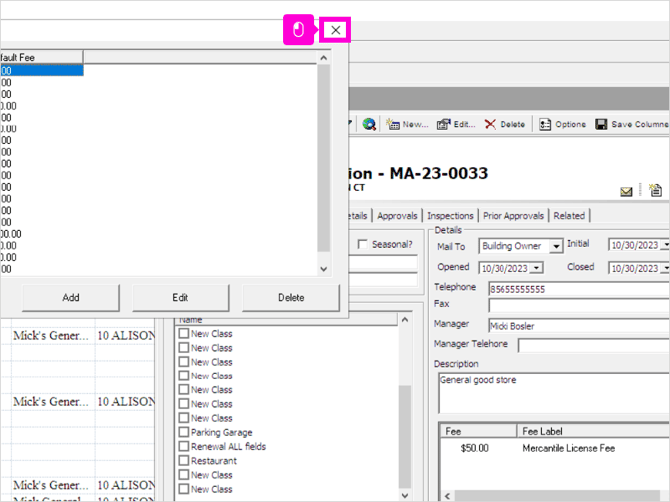
35. Click the X to exit the Mercantile Class editor.
36. Click X to exit Clerk Module options.
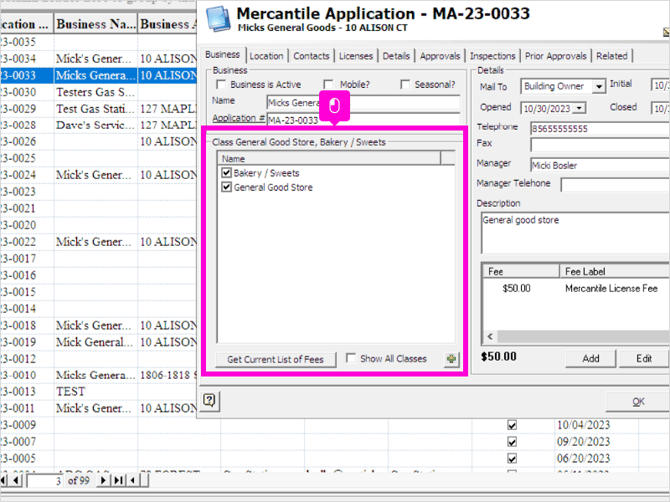
37. This list will now be reflected in all Mercantile Application records.
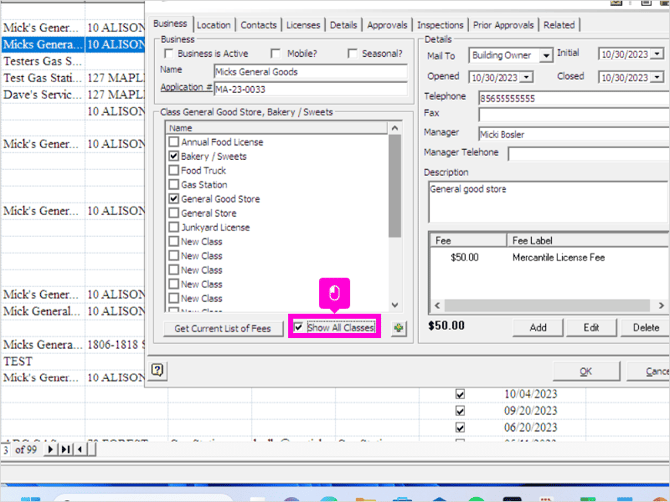
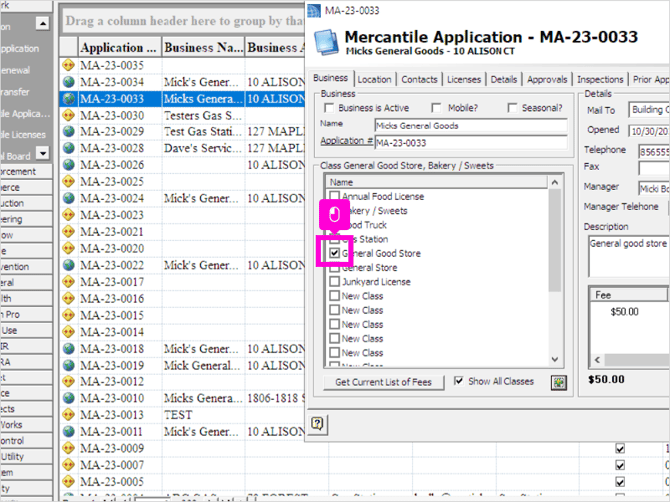
38. Checking Show All Classes will display the entire list of Mercantile Classes you were working with in the Clerk Module Options.
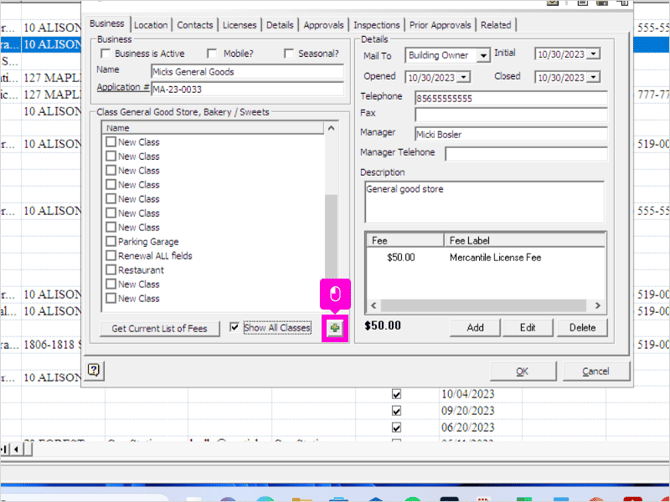
39. Clicking the Green Plus will also bring you back to the Mercantile Class Settings you were working with from the Clerk Module Options.
40. You can select the X to exit the list.
41. In a Mercantile Application you can check the box next to any Mercantile Class to assign the Mercantile Application to this class type. This is also the Class Type that the SDL Portal renewal will look for.
42. That's it. You're done.