![SDL - 2025 New Logo.png]](https://help.getsdl.com/hs-fs/hubfs/SDL%20-%202025%20New%20Logo.png?height=40&name=SDL%20-%202025%20New%20Logo.png)
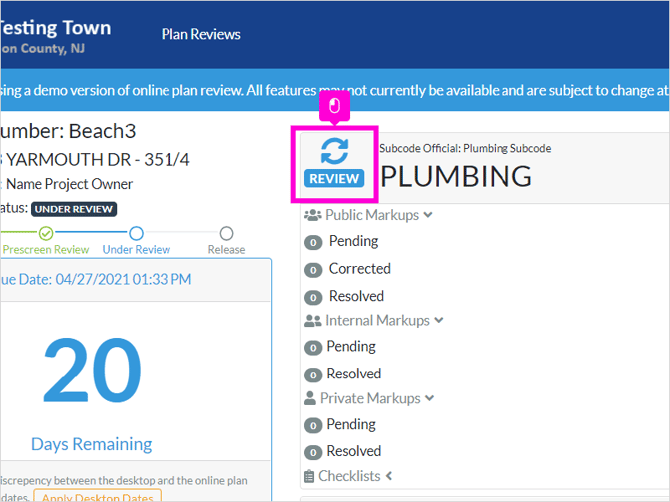
1. From the Online Plan Review Dashboard, click the Review Option next to the Subcode Review you will be performing
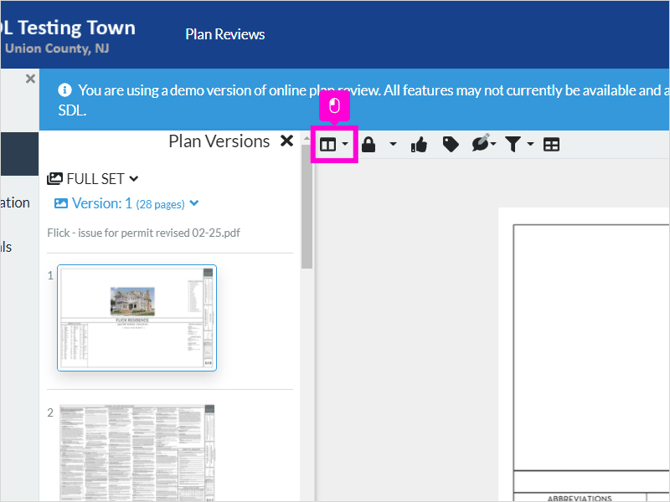
2. Click on the First Icon on the top left to access tools
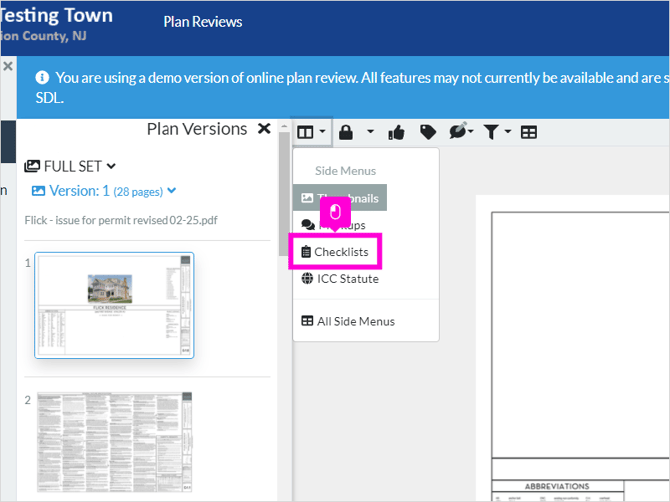
3. Click Checklists
4. Click the gear icon next to the Subcode under Checklists
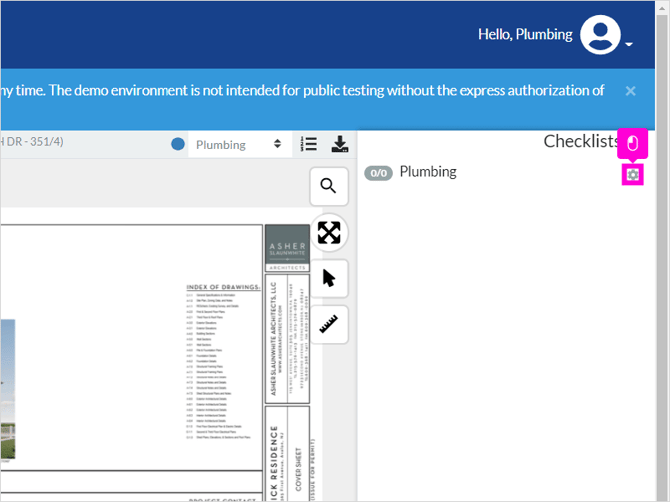
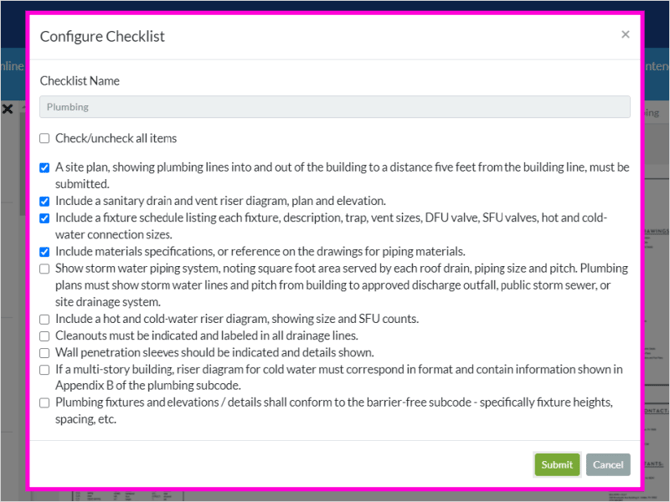
5. This will allow you to add the items that you want to use from the default checklist. Once your items are selected, click Submit
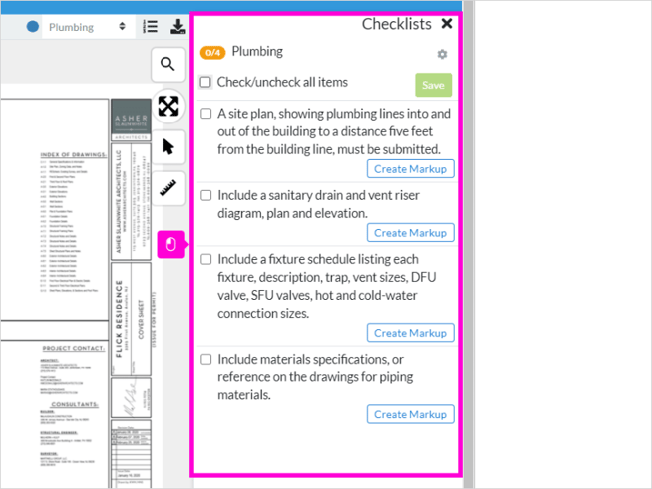
6. You will then be able to access the checklist from the Plan Viewer and the list will appear alongside the plans.
7. To customize or create a checklist, click Settings from the left side Toolbar
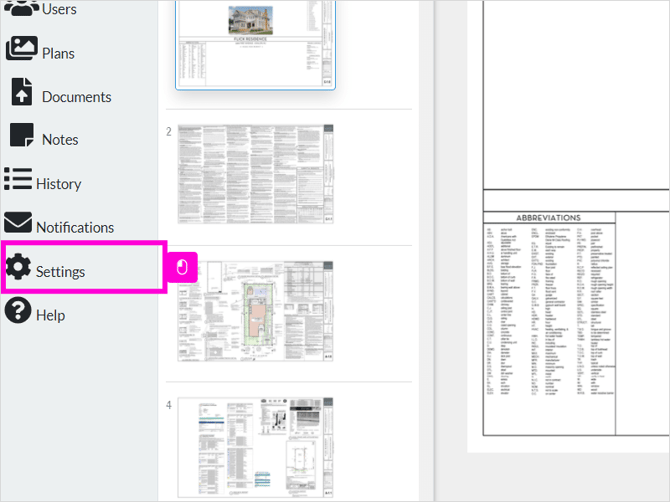
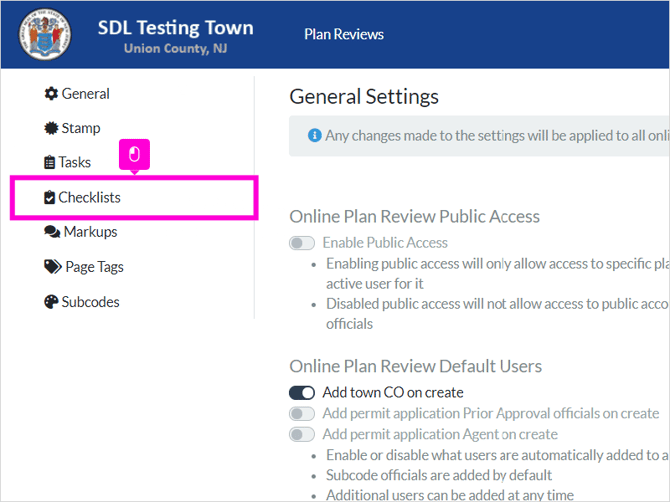
8. Click Checklists
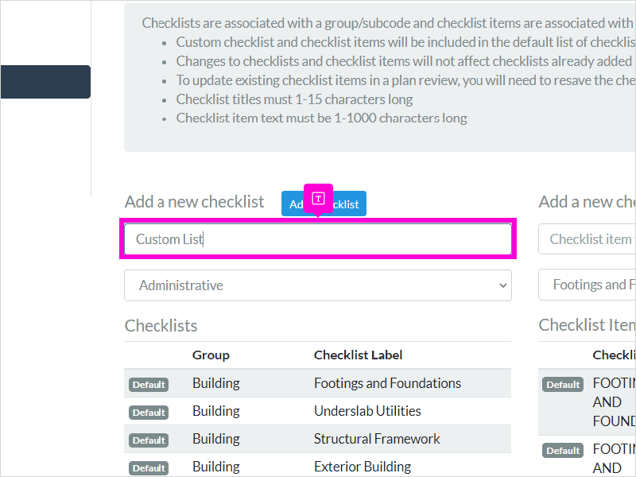
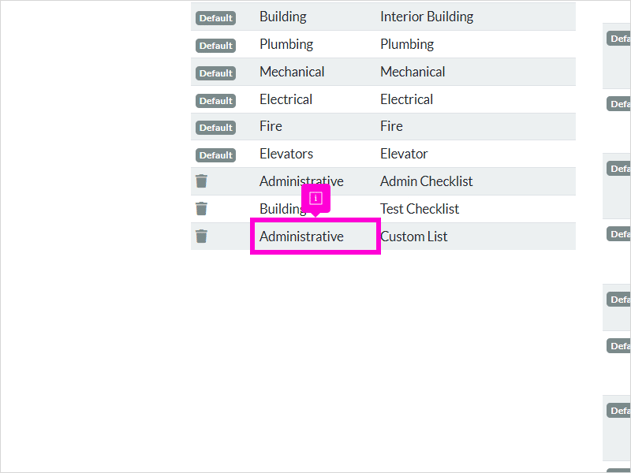
9. To create a new checklist, go to add a new checklist and enter the name for your list in the text field.
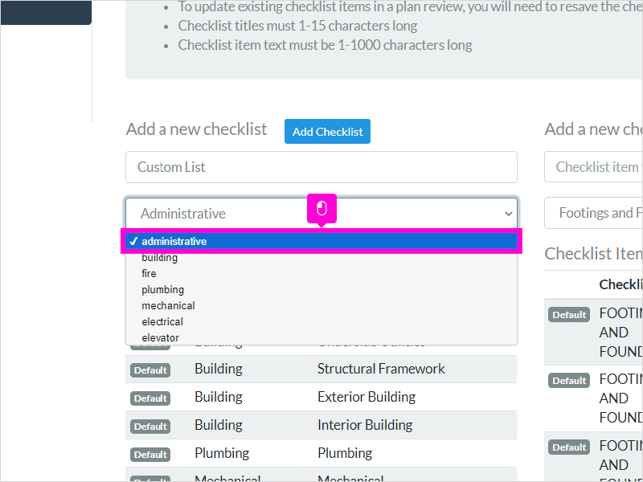
10. Then select a category for the checklist using the dropdown menu.
11. Then click Add Checklist
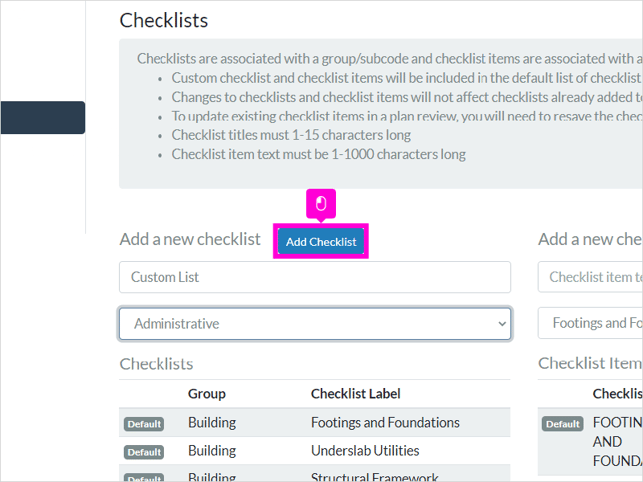
12. The new Checklist will be created and added to the list.
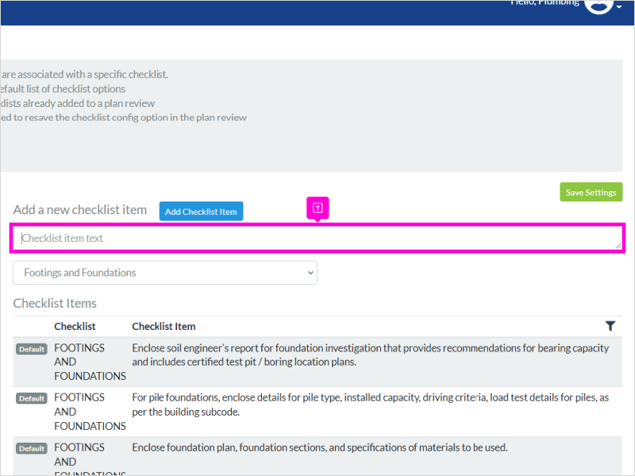
13. To add items to your checklist, enter the item into to text field.
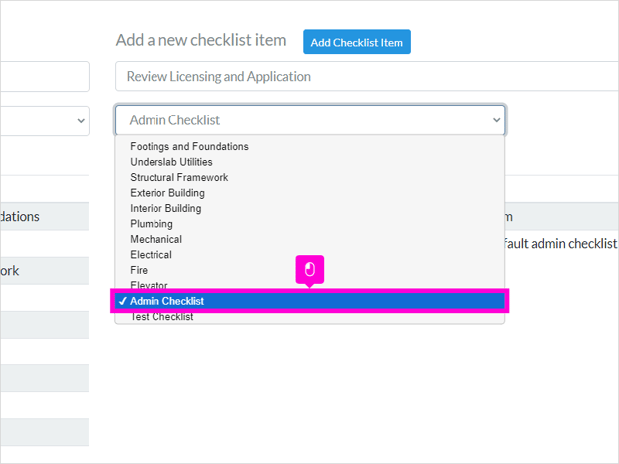
14. Use the dropdown list to select the name of Checklist that the item should be added to.
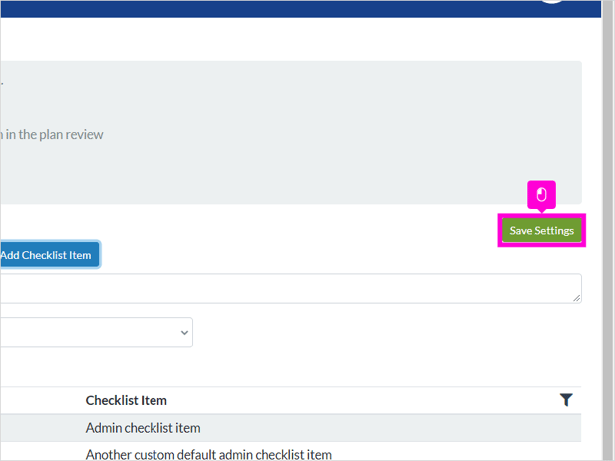
15. Click Save Settings. The item will be added to the checklist and will display below.