If you have any questions or have a hard time navigating through the new system, feel free to email support@getsdl.com.
Loading the Program
When you log in on your first day with SDL Hosting, all you will need to do is click this ‘SDL Desktop’ icon:

You may also notice either an SDL Hosting or Parallels Client icon on your desktop, but this can be ignored, as all this holds is your connection information to our servers, such as your credentials and some printing settings.
Printing
If you experience issues with printing from SDL Desktop on your first day, you may need to check some printer settings to ensure the connection is using your computer's preferences. You can check this via the SDL Hosting/Parallels client previously mentioned.
Once the SDL Hosting/Parallels client is open, select File, then Connection Properties:
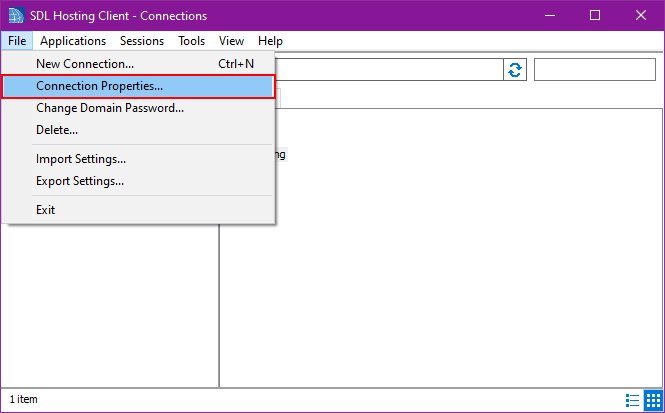
When in the next window, click on the Printing Tab, Options button, and ensure the Client Printer Preference area has the ‘Use client preferences for all printers’ radio button selected.

File Management
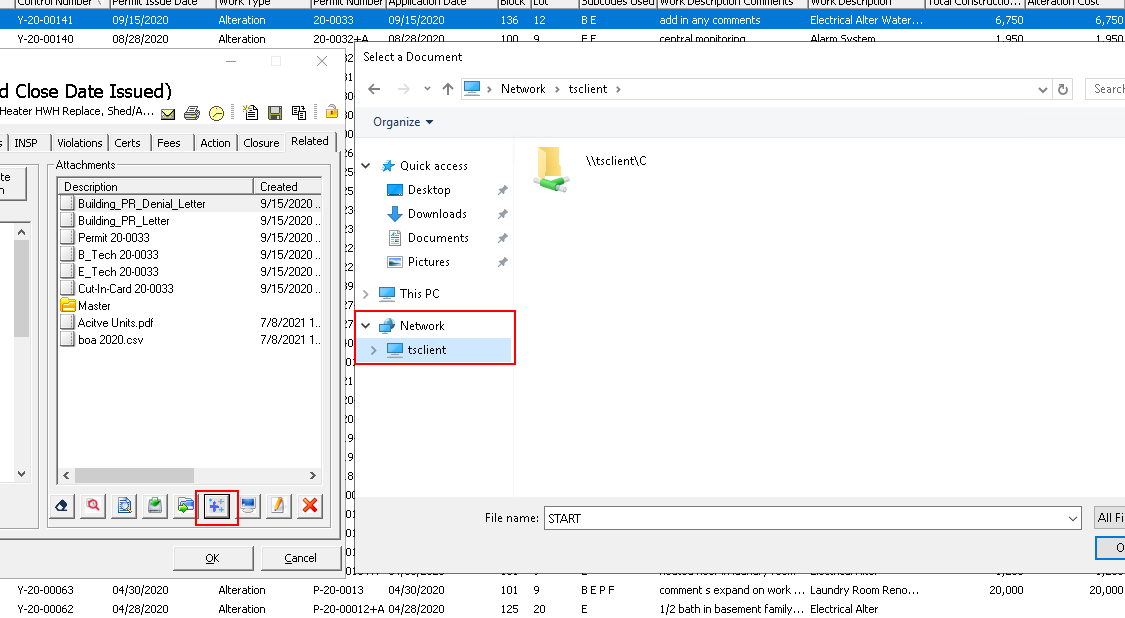
Since the program is no longer running on your local computer, our connection to the files on your computer will be in the shape of a network connection. It is called the ‘tsclient’.
A more straightforward way of uploading files is to Drag + Drop them into the Attachment areas of SDL. Simply open the file explorer on your machine, and drag + drop any file you’d like into these areas. This can also handle multiple files if needed.
The upload button in the attachment area will require some navigation. The tsclient network drive will allow you to navigate your files. If you have any mapped drives, they will also show up here. Note, the Quick Access buttons are not the ones for your machine; to unpin them, right-click the shortcut and select ‘Unpin from Quick Access’.
Once you’ve navigated to a folder, you can pin that folder to the quick access by right-clicking and selecting ‘Pin to Quick Access’.
If you are looking for your desktop, the common path for this is C:\Users\[Your User Folder]\Desktop