Checklists in SDL Connect can be customized and used in multiple places.
Creating a Checklist
To create a checklist, in the lefthand menu, choose Admin Settings, then Checklists, then at the top choose New to create a new one:

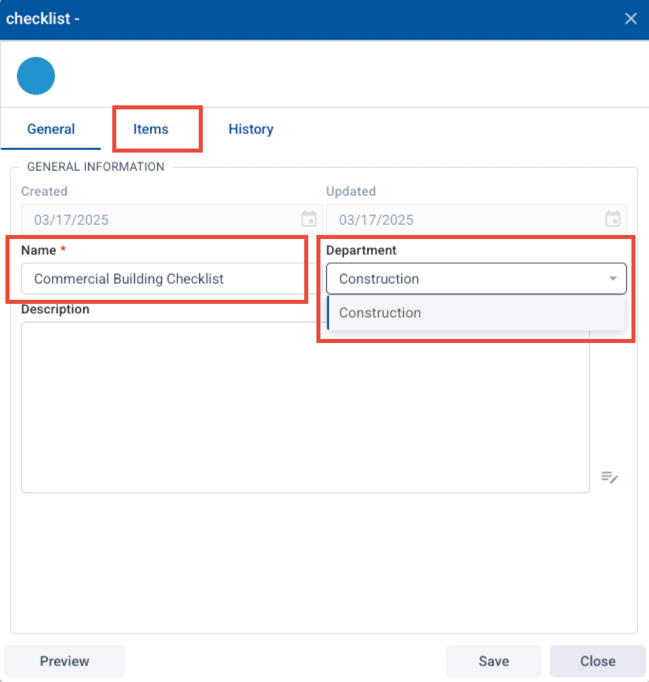
In the next popup window, give your checklist a name, then choose which department it belongs to from the dropdown menu. If needed, you can also add a description:
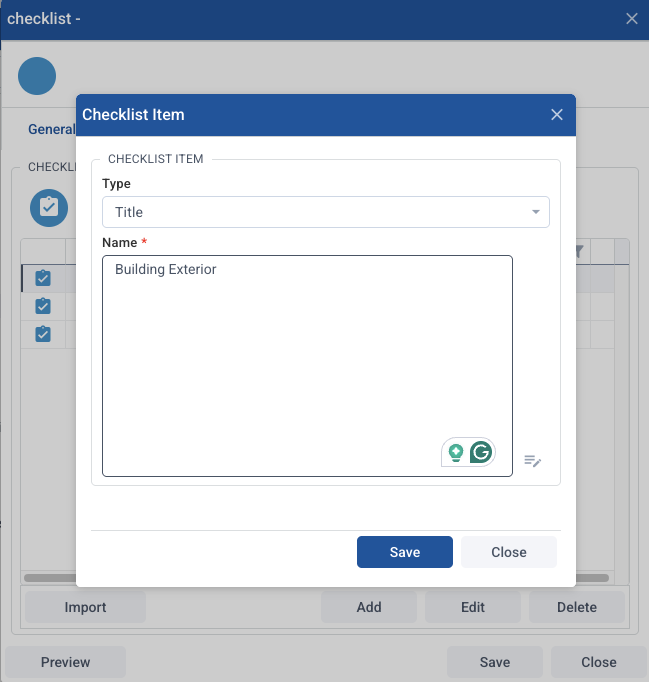
Then add your checklist items by clicking the Items tab (see above). The checklist is designed to be tiered so the first row will be type “title” with the title of that section, then enter the items below it with type “item.” Double click on a row to edit it or choose Add to create a new line.
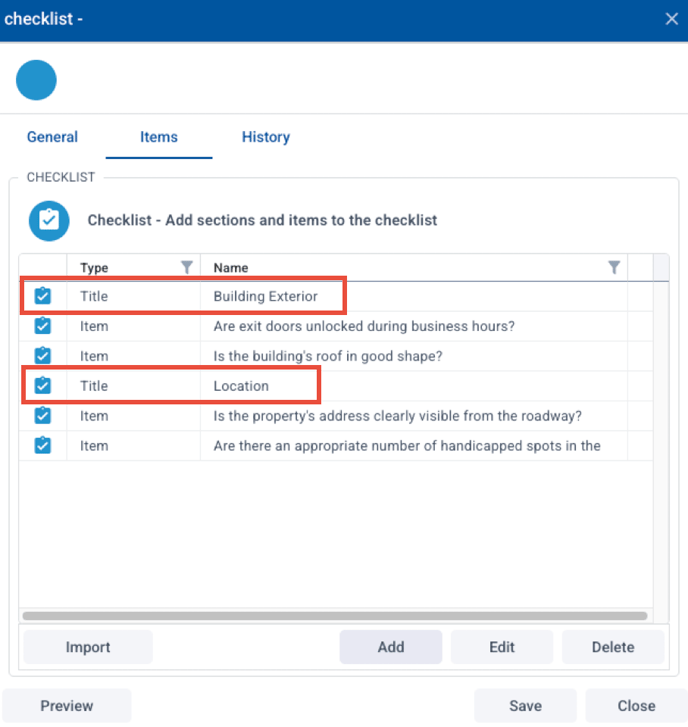
To create a new section, add another row with “title” as the type and the relevant items under it.
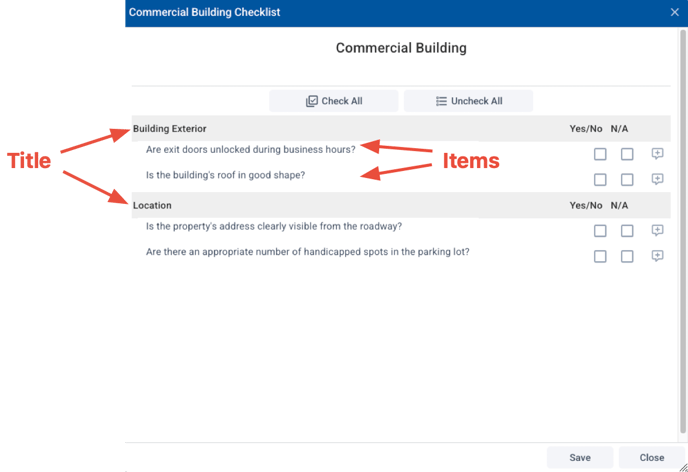
An example of a checklist with two sections (note the two “title” types):
Once saved, this checklist looks like this when in use:
Adding a Checklist to a Permit
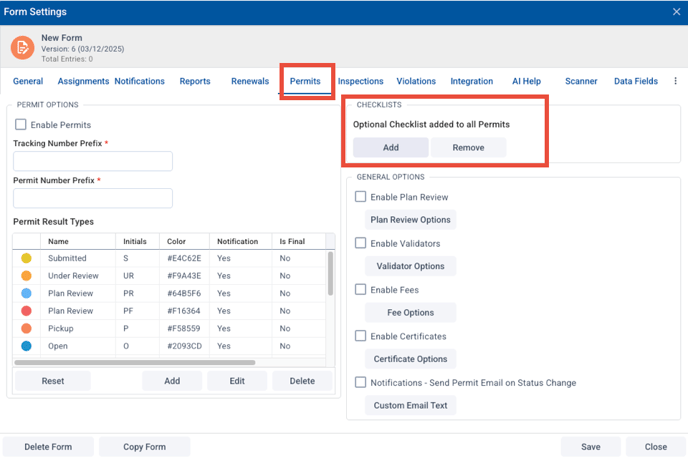
To add an existing checklist to a permit, in the form designer, choose Settings in the top right, then Permit. On the right side, under Checklists, choose “Add” under Optional Checklist added to all permits.
Then select the title of the desired checklist(s) and choose “select.”
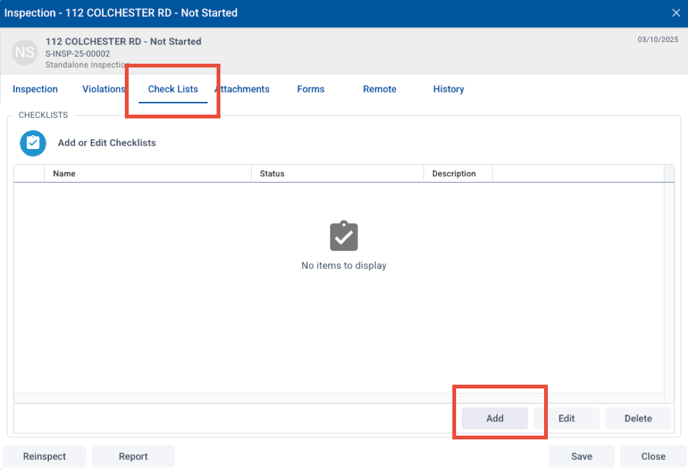
Adding a Checklist to an Inspection
To add a checklist to an existing inspection, open the inspection, then choose Checklist at the top, then select the desired checklist(s) and choose “select.”